Budget Kitchen Makeover: Ideas by Budget Tier
The cheapest budget kitchen makeover keeps your existing cabinets and counters and changes what you see and touch: paint or reface the cabinets, replace the hardware and lighting, and add a backsplash. Choose a spending tier first, work in that order, and replace cabinets only when the boxes are damaged or the layout does not work.
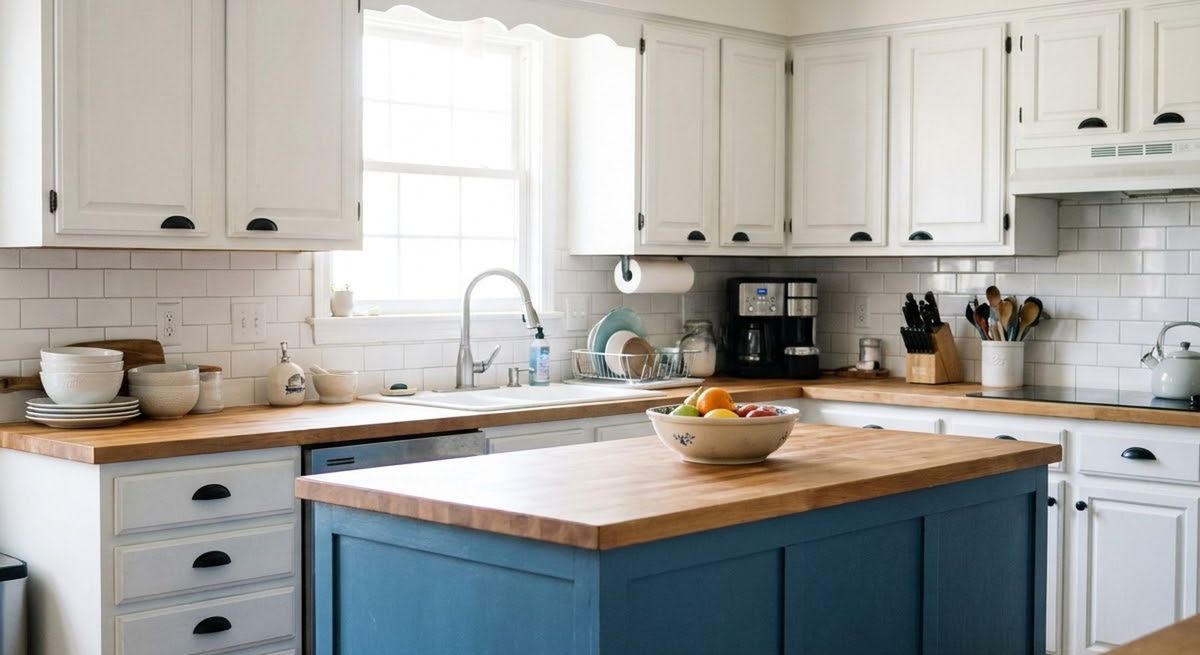
From the guide: Budget Home Improvement: Where to Spend and Where to Save
A budget kitchen makeover works best when you decide the spending tier first, then spend on the surfaces people see most. It is one of the projects in our guide to budget home improvement guide, where we explain how to rank projects by impact per dollar. Here the focus is the kitchen: what each tier realistically covers, and how to choose between painting, refacing and replacing cabinets.
How much does a budget kitchen makeover cost?
A refresh that keeps your cabinets, counters and layout costs a small fraction of a remodel, and the cost depends mostly on kitchen size, finishes and where you live. For scale, the 2025 Cost vs. Value report puts a midrange minor kitchen remodel at a national average of $28,458 in job cost, recouping 113% at resale. That is a professional job with new materials throughout. A paint, hardware and lighting refresh is a different and far cheaper category.
We do not quote one price for a kitchen, because local costs differ. Set a tier, then check current prices for the items in it. Our guide to affordable home upgrades by budget shows how to rank projects across the whole house, and smart budget renovation tips covers contingency and planning.
What can you do at each budget tier?
Each tier below adds to the one before it. The dollar limits you choose are yours; what matters is the order of the work.
Tier 1: Surfaces and light (lowest spend)
This tier changes the look without replacing anything big.
- Deep-clean and degrease cabinet doors, then repaint walls and trim.
- Replace cabinet pulls and knobs. Measure the hole spacing on your existing pulls first so the new ones fit the existing holes (see the hardware section below).
- Add plug-in or battery under-cabinet lights, and swap bulbs for a consistent color temperature.
Tier 2: Cabinets and backsplash (middle spend)
Add the two changes that transform a kitchen.
- Paint the cabinets (steps below) or replace only the doors and drawer fronts.
- Install a peel-and-stick or simple tile backsplash. Peel-and-stick suits renters and quick jobs; tile lasts longer behind a range.
- Replace a dated light fixture like-for-like (see the safety note below).
Tier 3: Counters and floor (higher spend)
These cost the most per square foot, so do them last.
- Replace worn laminate with butcher block or new laminate, or resurface only if the surface is sound.
Anything that moves a sink, range, gas line or electrical circuit is a remodel, not a makeover, and usually needs a permit and a licensed trade.
Should you paint, reface or replace your kitchen cabinets?
Paint cabinets if the boxes are solid, reface if the door style is the problem, and replace if the boxes are damaged or the layout does not work. Cabinets cover the most visual area in a kitchen, so this is the decision that most affects your budget.
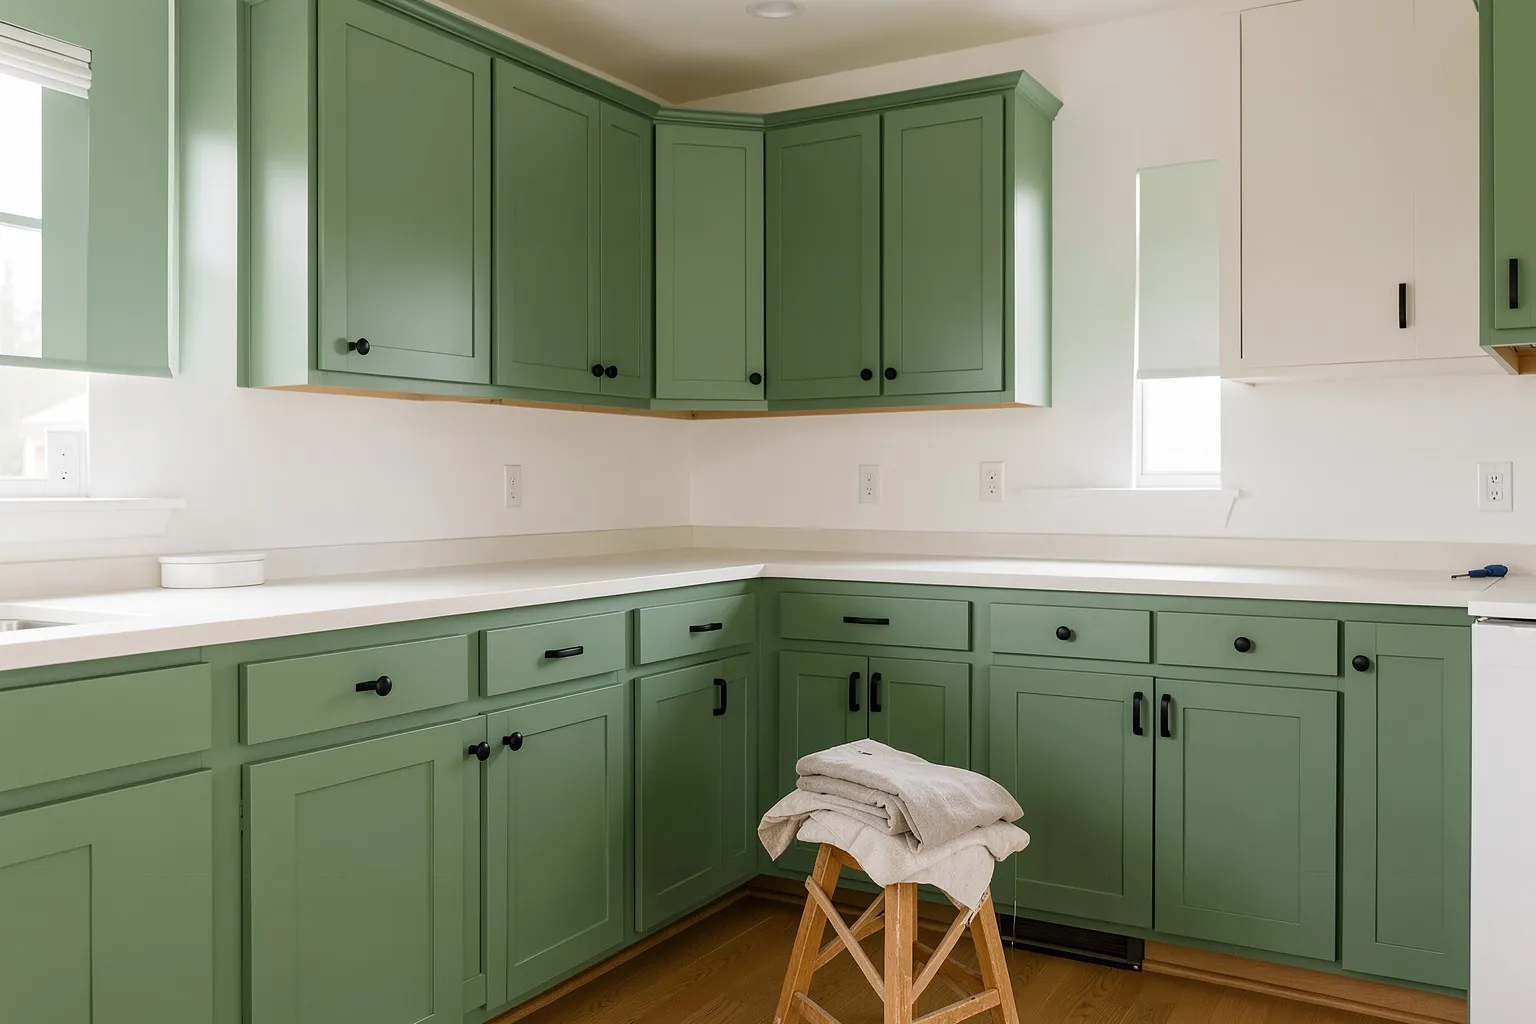
Refacing means replacing the doors and drawer fronts and covering the visible box surfaces with a veneer or laminate. Replacing means new boxes, installation and usually new counters. The table above compares the three options.
Ask one question first: are the boxes sound? Look under the sink for swollen particleboard, soft spots and sagging shelves. Paint will not fix them.
How do you paint kitchen cabinets so the paint lasts?
Remove the doors, degrease, prime with a bonding primer, then apply two coats of cabinet enamel with full dry time between each. Sherwin-Williams, a major paint maker, publishes this method, and we follow its timings here. Always read the label on your own product, because dry times differ.
- Remove doors, drawers and hardware. Label each door and its hinge position so they go back in the same place.
- Degrease and clean. Kitchen grease stops primer from bonding.
- Fill holes and dents with wood filler, and sand lightly.
- Test the primer on a hidden spot, then prime.
- Let the primer dry at least 24 hours, then sand it with very fine paper and wipe the dust with a damp cloth.
- Apply the first coat with an angled brush on recessed areas and a small roller on flat areas.
- Wait 24 to 48 hours, apply the second coat, and wait another 24 to 48 hours before reinstalling hardware.
The project is mostly waiting: plan for about a week, and do not rush the dry times. Measure the walls and doors and check the coverage printed on the can before you buy. If you add a tile backsplash, the tile calculator guide shows how many tiles and boxes to order.
Is your house older than 1978?
Paint in homes built before 1978 may contain lead. The EPA’s lead renovation rule covers paid contractors and generally does not cover owners working on their own home, but the EPA still recommends lead-safe practices for DIY work. Never dry-sand or scrape suspect paint, keep dust contained, and keep children and pregnant people away from the work, as Sherwin-Williams’ lead warning advises. Rules differ if you rent out the home.
How do you swap kitchen cabinet hardware?
Measure the center-to-center distance of your existing pulls, buy new pulls with the same spacing, and reuse the holes. Center-to-center is the distance from the middle of one screw hole to the middle of the other, and it is the number that decides whether a pull fits.
- Remove one pull and measure from the center of one screw hole to the center of the other, in inches or millimeters.
- Write it down for doors and drawers separately, because they are often different.
- Check pull length separately: two pulls can share the same spacing and still be very different lengths.
- Buy a pull with the same spacing, and check the product listing for its stated center-to-center size, because cabinets vary and sizes are listed in both inches and millimeters. Trust your own measurement.
- If spacing does not match, fill the old holes or buy knobs, which need one hole.
Install hardware only after the paint has fully dried.
Peel-and-stick vs tile: which kitchen backsplash should you choose?
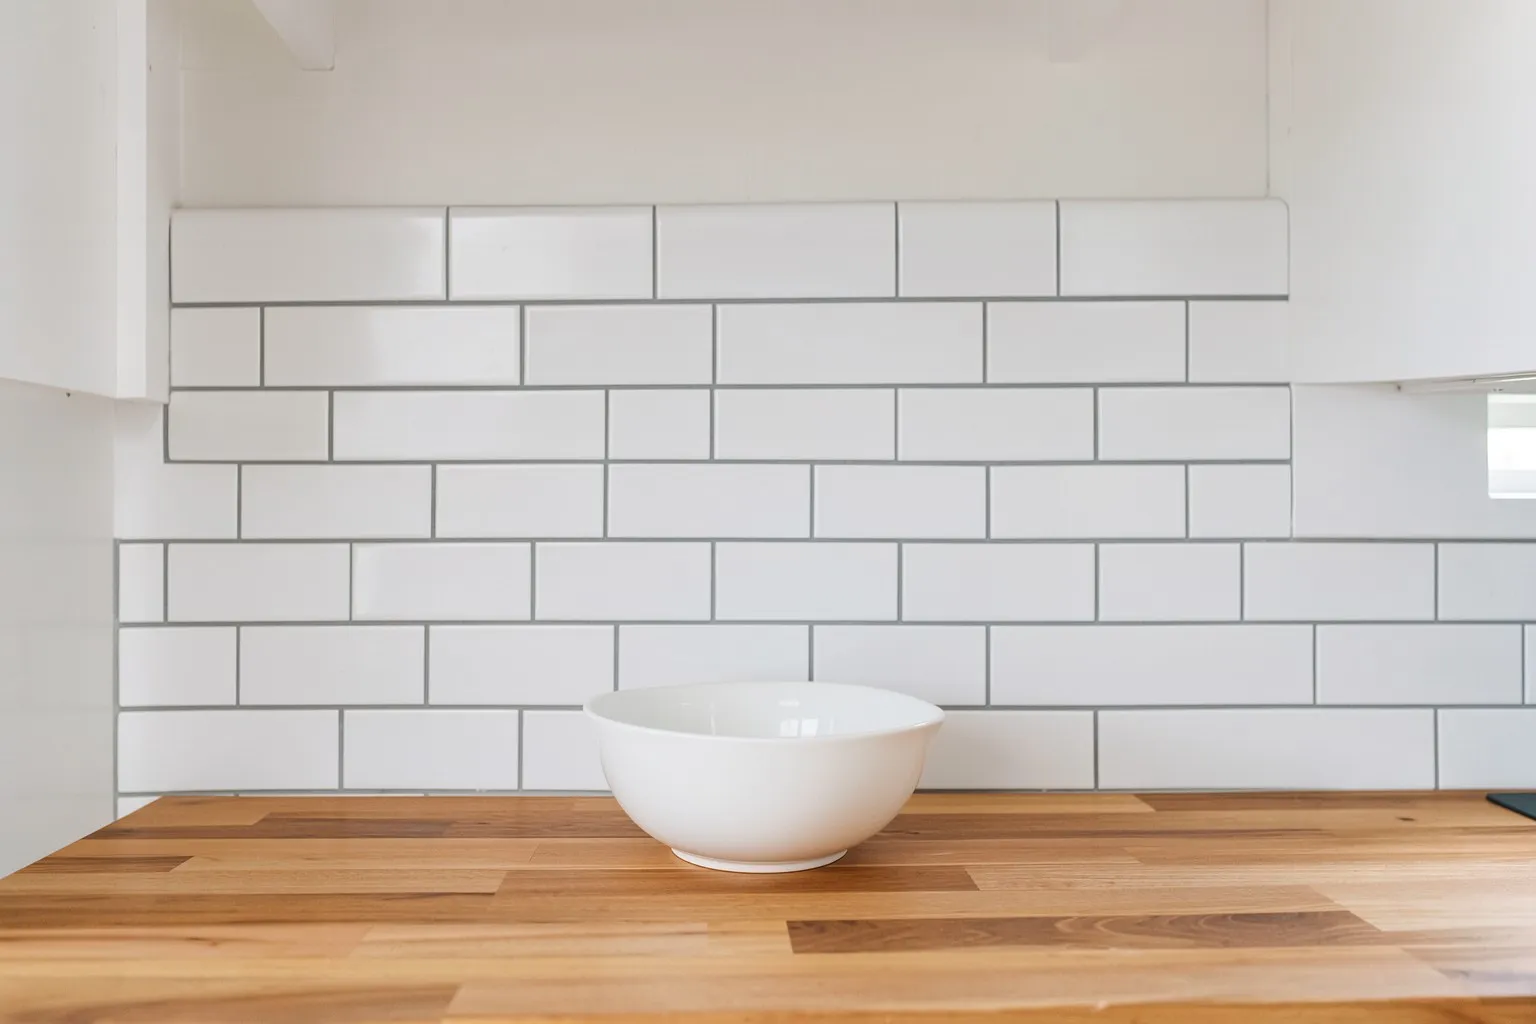
Choose peel-and-stick for a fast, low-cost, reversible update on a clean smooth wall, and tile if you want the longest-lasting surface behind the range. A backsplash is the best-value surface upgrade after cabinets because it covers a small area that is always in view.
| Peel-and-stick | Ceramic tile | |
|---|---|---|
| Skill needed | Beginner | Intermediate (layout, mortar, grout) |
| Time | Hours | Days, with drying and grout cure |
| Removal | Easier, but can pull paint | Hard, and damages drywall |
| Near the range | Follow the maker’s clearance | Handles heat well |
| Best for | Renters, quick refresh | Owners planning to stay |
The WallPops installation guide for peel-and-stick tile gives specific rules worth following:
- Surfaces must be smooth, dry, clean and firm. Clean with warm water only, because soap and chemical cleaners can leave residue that stops adhesion.
- Wait at least four weeks after painting, longer if the paint maker says so.
- Textured walls, wallpaper, brick, unpainted drywall and non-stick paint are unsuitable.
- Use the countertop or a level line as a guide, and press each tile firmly.
- If there is no backing behind the stove, leave at least 15 inches of space above the range.
- Tiles are water-resistant, not waterproof, so do not use them in a shower. The stronger tile adhesive can pull paint off when removed.
Other brands have their own rules, so read the instructions in your box. Tile is a bigger job; test your layout dry before you spread any mortar.
What are the best budget countertop options?
The cheapest countertop upgrade is to keep a sound counter and care for it properly; the next is to refresh it with a coating kit, a new laminate, or refinished butcher block. Counters cost the most per square foot of anything in this guide, so do them last.
Laminate: keep or replace
Laminate is a plastic surface bonded to a core, and it is the lowest-cost new counter. If yours is intact, cleaning it right extends its life. Wilsonart’s laminate care sheet says to use a damp cloth and mild soap or detergent, rinse thoroughly, and wipe dry. It warns against acidic or abrasive cleaners, steel wool and abrasive pads, and lye drain cleaners, notes that prolonged bleach exposure causes discoloration, and says to use a trivet or hot pad rather than setting hot pans directly on the surface.
Butcher block: refinish instead of replace
Butcher block is wood, so scratches and burns can be sanded out. Butcher Block Co.’s care guide gives this refinishing order for an oil-finished top: clean off crumbs, grease and residue; sand the whole top evenly along the grain with 100 to 150 grit paper, finishing with 220 grit; vacuum and wipe off the dust and let the wood dry fully; then apply fresh coats of oil, letting each soak in and wiping off the excess. It recommends a butcher block oil rather than cooking oils such as olive or vegetable oil, which it says can turn sticky and rancid, and about one oiling a month for typical household use. A top with a sealed varnish-type finish is different: follow that finish’s own care instructions instead of oiling, and do not cut on it. Test products in a hidden spot first.
Countertop paint and resurfacing kits
A coating kit can hide a worn laminate counter at a lower cost than replacement. Rust-Oleum’s current technical data sheet (ROC-264) for its HOME Countertop Coating kits describes a two-step system of a base coat and a satin topcoat. It says to clean and degrease first, remove any caulk where the coating will go, and test adhesion on a small hidden area before coating the whole surface. The topcoat goes on 4 hours after the base coat. The counter is ready for light use in 24 hours, for heavier items after 72 hours, and fully cured after 7 days, and the sheet says it is not intended as a food preparation surface and that knives may scratch it. Kits change, so read the instructions in yours.
How do you upgrade kitchen lighting on a budget?
Start with LED bulbs and plug-in under-cabinet lights, which need no wiring; replace hard-wired fixtures only if you can do it safely. Better light makes counters, cabinets and a new backsplash look better for very little money.
ENERGY STAR says LED lighting produces light up to 90% more efficiently than incandescent bulbs, which turn about 90% of their energy into heat. LEDs rarely burn out suddenly: they dim slowly, and rated life is the point where output has fallen by 30%. ENERGY STAR-certified LEDs are tested so their light output holds up through the rated life. Buy certified bulbs and fixtures where you can.
Under-cabinet lights: plug-in or hard-wired?
- Plug-in or battery: no wiring, ideal for renters and beginners. Look for a safety listing mark from a recognized testing laboratory such as UL, ETL or CSA on the lights and power supply.
- Hard-wired: tidier, but it connects to the home’s wiring, so it is electrical work. Many places require a permit and a licensed electrician.
Replacing a hard-wired fixture
Electrical safety note: switch off the breaker, confirm the power is off with a non-contact tester and again at the fixture, and follow the manufacturer’s instructions and your local code. If wiring looks old, damaged or does not match the new fixture, stop and hire a licensed electrician. Our guide to DIY electrical basics lists what to do yourself and what to hand off, and this article on knowing your limits explains the warning signs.
How do you replace a kitchen faucet?
Shut off the water, disconnect the supply lines, swap the faucet, then reconnect and check for leaks. Moen’s DIY guide lists a basin wrench, adjustable wrench, screwdriver, bucket and rags as the tools.
- Shut off the water at the shutoff valves under the sink or at the main, and open the faucet to drain the lines.
- Place a bucket and rags under the connections, and disconnect the supply lines with the basin wrench. Remove any sprayer or soap dispenser lines.
- Remove the old faucet by loosening the mounting nut.
- Clean the holes, set the deck plate gasket if your sink has three holes, and mount the new faucet. Tighten the nut under the sink.
- Connect the supply lines and tighten until secure. Moen’s braided supply lines have compression fittings, so it says tape is not needed.
- Turn the water on with the faucet off to clear the lines, test hot and cold, and recheck each connection.
If the faucet does not fit your sink’s hole layout, or the shutoff valves are corroded or will not close, stop and call a plumber rather than forcing them.
What should you not DIY in a kitchen makeover?
Hire a licensed professional for anything involving gas, moving plumbing, new electrical circuits or structural walls. These jobs carry risks of fire, flooding, carbon monoxide or collapse, and most places require permits and inspections for them.
- Gas: do not move, extend or reconnect a gas range or line yourself. Call a licensed professional and your gas utility. If you smell gas, the American Gas Association says to leave the building immediately, take others with you, not use a phone inside, and call 911 or your gas utility from a phone away from the area.
- Plumbing: replacing a faucet on the existing shutoff valves is DIY; moving a sink or drain is not.
- Electrical: new outlets, new circuits or moving wiring need a licensed electrician in most places. Swapping a light fixture like-for-like is a smaller job but still needs the safety steps above.
Rules differ by city and county, so call your local building department before you start anything beyond cosmetic work.
What are the biggest budget kitchen makeover mistakes?
The biggest mistakes are skipping prep, buying finishes before measuring, and starting more than you can finish.
- Skipping degreasing and primer, which causes peeling cabinet paint.
- Ignoring small repairs, like a loose hinge or a leaking faucet. Our essential home repair tips cover these.
Which projects pay back the most?
Published resale data favors modest, well-chosen work over big spending. If resale is part of your plan, see which DIY projects return the most, and compare a kitchen refresh with other jobs in our weekend projects under $100 list. Cost vs. Value figures are national averages, so local results differ.
| Feature | Paint | Reface | Replace |
|---|---|---|---|
| What changes | Finish only; doors, boxes and layout stay | New doors, drawer fronts and a veneer or laminate over the boxes | Doors and boxes; layout can change |
| Relative cost | Lowest (materials and your time) | Middle | Highest |
| Typical DIY? | Yes, with patience | Sometimes; veneering boxes is fiddly, new doors alone is easier | Rarely; installing and leveling takes skill |
| Time | Several days, mostly waiting for paint to dry | Days to weeks, depending on lead times | Weeks, with lead times and counters |
| Fixes damaged boxes? | No | No | Yes |
| Fixes a poor layout? | No | No | Yes |
| Best when | Boxes are sound and you like the layout | Boxes are sound but door style is dated or worn beyond paint | Boxes are water-damaged or sagging, or the layout does not work |
Paint if the cabinet boxes are solid, reface if the door style itself is the problem, and replace only when the boxes are damaged or the layout needs to change.
Questions and answers
How can I update my kitchen on a very small budget?
Start with the cheapest changes that show the most: paint or deep-clean the cabinets, replace the pulls and knobs, swap the light fixture or add plug-in under-cabinet lights, and caulk and repaint the walls. These surfaces and light sources are what you see and touch every day. Skip anything that moves plumbing or gas lines, and add a flooring or backsplash change only after the basics are done.
Is it cheaper to paint or replace kitchen cabinets?
Painting is much cheaper than replacing because you keep the boxes and doors and pay only for materials and your time. Replacing cabinets is the most expensive route because it covers new boxes, installation and usually counter work. Paint works when the boxes are structurally sound. If they are water-damaged, sagging or the layout is wrong, replacing is the only fix that lasts.
Does painting kitchen cabinets last?
It can last for years if you prep properly. Degrease the surfaces, sand lightly, use a bonding primer, and finish with a durable cabinet enamel, as paint makers like Sherwin-Williams describe. Allow the full dry times, which Sherwin-Williams says prevents smudging and peeling. Skipping cleaning, primer or dry time is a common way a paint job fails.
What is the difference between refacing and painting cabinets?
Painting changes only the finish on the existing doors and boxes. Refacing replaces the doors and drawer fronts and covers the visible box surfaces with a new veneer or laminate, so you can change the door style. Refacing costs more than painting and less than replacing, and it still leaves the boxes and layout as they are.
What should I upgrade first in a budget kitchen makeover?
Upgrade in this order: cabinet finish and hardware, lighting, backsplash, then counters and flooring. Cabinets cover the most visual area, and lighting changes how every surface looks. Counters and floors cost the most per square foot, so leave them for last, and only if your budget has room after the first three.
Do I need a permit for a cosmetic kitchen makeover?
Usually not for painting, hardware, and a backsplash, but rules vary by city and county. Moving or adding electrical circuits, plumbing, or gas lines normally needs a permit and a licensed trade. Call your local building department before you start anything beyond cosmetic work, and keep a record of what they say.
How do I know if my old paint contains lead?
Homes built before 1978 may have lead paint under newer layers. The EPA says about three-quarters of US homes built before 1978 still contain some lead-based paint, and it recommends lead-safe work practices if you do the work yourself. Treat old paint as suspect unless a test shows otherwise, and do not scrape or sand it dry. Sherwin-Williams warns that sanding or scraping old paint can release lead dust. A certified lab test or inspector can confirm.
Are peel-and-stick backsplashes worth it?
They are worth it for renters and for quick, low-cost updates, because they install without grout and come off more easily than tile. They suit walls that are clean, smooth and away from direct heat. Real tile lasts longer and holds up better behind a range, but costs more and takes more skill and time.
How much energy do LED kitchen lights save?
ENERGY STAR says LED lighting produces light up to 90% more efficiently than incandescent bulbs, which convert about 90% of their energy into heat. LEDs also dim slowly rather than burning out, and ENERGY STAR defines rated life as the point where light output has dropped 30%. Buy ENERGY STAR-certified bulbs and fixtures, which are tested to manage heat so their output holds up.
Can I replace a kitchen faucet myself?
Yes, if the new faucet fits your sink's holes and the shutoff valves under the sink work. Moen's DIY guide lists a basin wrench, adjustable wrench, screwdriver, bucket and rags as the tools, and says to shut off the water, disconnect the supply lines, install the new faucet and check each connection for leaks. If valves are corroded or will not close, call a plumber.
Our sources
- 2025 Cost vs. Value Report, national averages (via JLC) (jlconline.com)
- Sherwin-Williams: How to paint kitchen cabinets (sherwin-williams.com)
- US EPA: Lead Renovation, Repair and Painting Program (epa.gov)
- ENERGY STAR: Learn about LED bulbs (energystar.gov)
- WallPops: How to install peel and stick backsplash (wallpops.com)
- Rust-Oleum HOME Countertop Coating Kits technical data sheet (ROC-264, rev. 06/13/24) (rustoleum.com)
- Wilsonart Laminate Care & Maintenance (wilsonart.com)
- Butcher Block Co.: How to care for butcher block countertops (butcherblockco.com)
- Moen: A DIY kitchen faucet installation guide (moen.com)
- American Gas Association: Using natural gas safely (aga.org)
Related reading
- Budget Home Improvement: Where to Spend and Where to Save
Plan budget home improvement the smart way: what to fix first, which jobs you can DIY, what pays back, with a cost, difficulty and payoff table.
- DIY vs Hiring a Pro: When Doing It Yourself Actually Saves Money
Is DIY cheaper than hiring a pro? Count tools, time and mistakes, find your break-even hourly value, and see which jobs rarely pay off and which do.
- Tile Calculator: How Many Tiles and Boxes for Floor, Wall or Backsplash
Work out how many tiles and boxes a floor, wall or backsplash needs: area formula, grout joint, waste by pattern, thinset coverage and a worked example.
- Affordable Home Upgrades by Budget: $100, $500 and $1,500 Ideas
Affordable home upgrades sorted by budget: what $100, $500 and $1,500 buys, with cost ranges, time, skill level and a comparison table.
- Budget Renovation Tips: How to Plan, Save and Avoid Overspending
Budget renovation tips for setting a budget, adding a contingency, choosing what to save or splurge on, deciding DIY versus pro, and permits.
- 15 Cheap Curb Appeal Ideas With Costs and Time Estimates
15 cheap curb appeal ideas with cost ranges and time for each, from a painted front door to mulch and lighting, plus the order to do them in.