Affordable Home Upgrades by Budget: $100, $500 and $1,500 Ideas
The best affordable home upgrades are cosmetic and high-visibility: paint, lighting, hardware, caulk and a tidy entry. Around $100 buys a fresh-painted room or new light bulbs and hardware. Around $500 covers a bigger refresh such as vinyl plank in one small room or a new light fixture and shelving. Around $1,500 reaches a full room refresh. Costs below are planning estimates, so price your own materials.
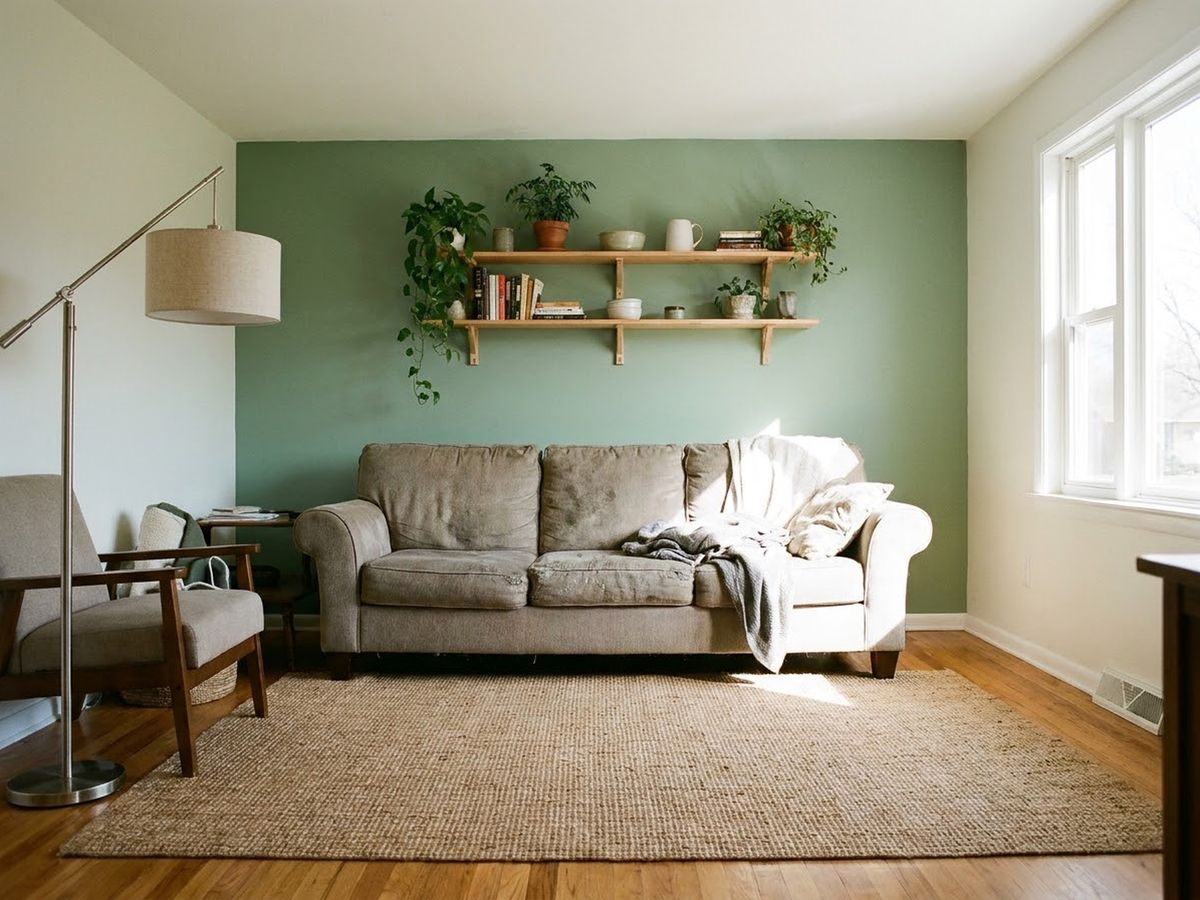
From the guide: Budget Home Improvement: Where to Spend and Where to Save
What counts as an affordable home upgrade?
An affordable home upgrade is a project that visibly improves a room or exterior for a few hundred dollars instead of thousands, usually by changing surfaces, light and hardware rather than walls or systems. This page sorts upgrades by what you can spend so you can pick a tier and start. For the wider strategy, see the guide to budget home improvement guide.
Cost figures here are planning estimates for materials only, based on typical retail ranges, not a survey. Prices vary by region and store, so price your own list before you buy.
What can you upgrade for $100?
For about $100 you can change a room’s look with paint, hardware, bulbs and caulk. These projects need basic tools and fit into an afternoon.
$100 upgrades that make the biggest difference
- Swap cabinet pulls and knobs ($20-$80 for a kitchen, 1-2 hours). Match the existing hole spacing to avoid drilling.
- Paint an accent wall or one small room ($30-$80, 4-8 hours). Measure the walls and read the coverage on the can so you do not overbuy; the budget planner with a built-in contingency keeps the total in check.
- Re-caulk a tub or sink ($10-$25, 1-2 hours). Fresh caulk makes a bathroom look clean and keeps water out of the wall.
- Replace dingy bulbs and covers ($15-$40, under an hour). Matching color temperature across a room is a quick, noticeable fix.
- Add a mirror or a shelf ($25-$75, 1 hour). A mirror opposite a window brightens a dark room.
More projects at this price are in the list of weekend DIY projects under $100.
What can you upgrade for $500?
A $500 budget covers a bigger single change or two or three small ones in the same room. Think of it as one finished space, not five half-done ones.
$500 upgrades worth the money
- Paint a full floor of the house ($200-$500 in paint and supplies, one to two weekends). Neutral walls and white trim read as clean and current.
- Peel-and-stick backsplash ($100-$300 for a typical run, 3-5 hours). It suits renters and avoids tile work.
- Replace a light fixture like-for-like ($50-$200, 1-2 hours). This is electrical work: turn the breaker off, confirm power is dead with a non-contact tester, and follow the fixture’s instructions and local code. If the wiring looks old or damaged, hire a licensed electrician.
- Paint the front door and replace its hardware ($60-$200, one day). Published payback data favors entry doors, though that data covers full door replacement, not paint.
- Install floating shelves or simple storage ($50-$200, 2-3 hours). Anchor into studs or use rated wall anchors.
A kitchen at this tier is covered in the guide to a budget kitchen makeover guide.
What can you upgrade for $1,500?
For about $1,500 you can refresh one entire room, or one high-impact feature such as flooring or cabinets. This tier is where careful planning matters, because a small surprise is a large share of the budget.
$1,500 upgrades to consider
- Vinyl plank flooring in a small room ($300-$900 in materials for roughly 100-150 square feet, 1-2 days). Check that the subfloor is flat and dry first.
- Paint kitchen or bath cabinets and add new hardware ($200-$500, one week with drying time). Clean, sand lightly, prime and use cabinet-grade paint.
- New bathroom faucet, mirror and light ($150-$500, a day). Shut off water at the stop valves and replace supply lines at the same time.
- Landscaping refresh ($200-$800: mulch, shrubs, edging, 1-2 weekends). Choose plants rated for your region.
- Window and door air sealing with weatherstripping ($30-$150, 2-4 hours). It improves comfort, but it does not replace insulation.
Cheap curb-side projects are listed in 15 cheap curb appeal ideas.
Which lighting upgrades are worth it?
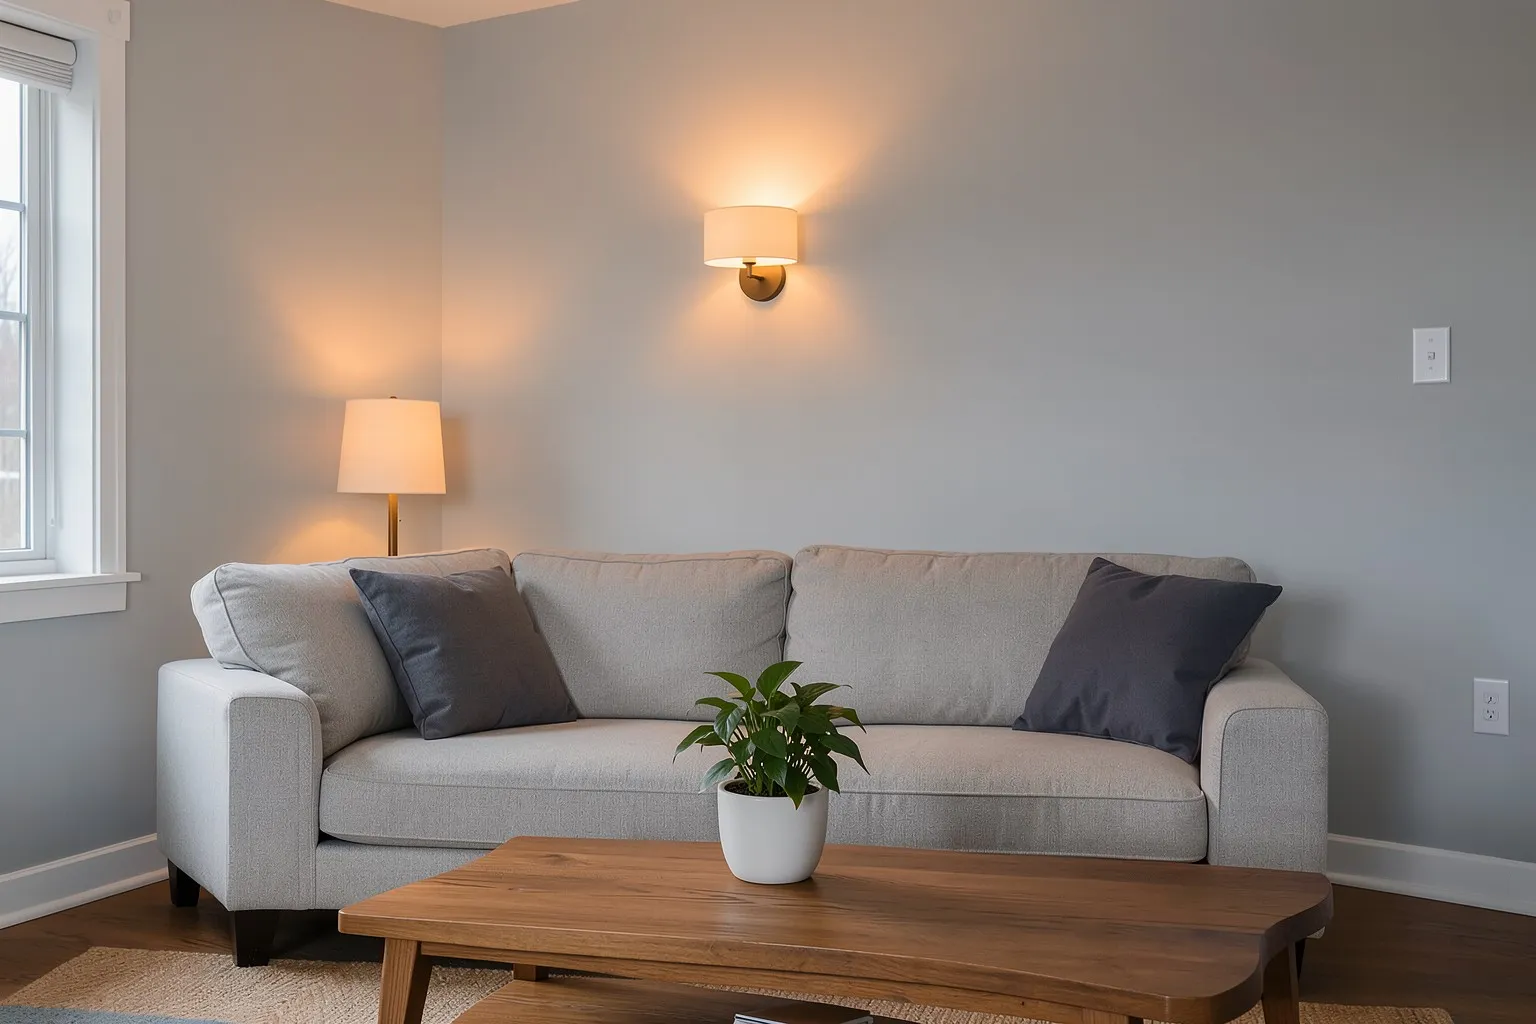
Replacing old bulbs with LEDs is one of the cheapest upgrades that also lowers your bills. The Department of Energy says LEDs use at least 75% less energy than incandescent bulbs, emit virtually no heat and last 25 times longer. Look for the ENERGY STAR label.
Three buying rules help:
- Shop by lumens, not watts. Lumens measure brightness. The Department of Energy says to look for a 1,100-lumen LED as an alternative to a 75-watt incandescent bulb, and many LEDs deliver that with far fewer watts.
- Match the color temperature. Around 2700K is a warm white for living rooms and bedrooms. Higher numbers look cooler and bluer, which some people prefer in kitchens and work areas.
- Check the dimmer. Use bulbs marked dimmable on dimmer circuits, and replace old dimmers if bulbs flicker or buzz.
Fixtures change a room more than bulbs do. A like-for-like fixture swap fits the $500 tier, but treat it as electrical work: breaker off, power verified dead, and follow the fixture’s instructions and local code. Floor and table lamps need no wiring and are an easy way to add layers of light.
How do paint and color change a room?
Paint is the highest-impact upgrade per dollar because it changes every surface you see. Pick one wall color family for connected rooms, keep trim in a single white, and test two or three samples on the wall in morning and evening light before buying gallons.
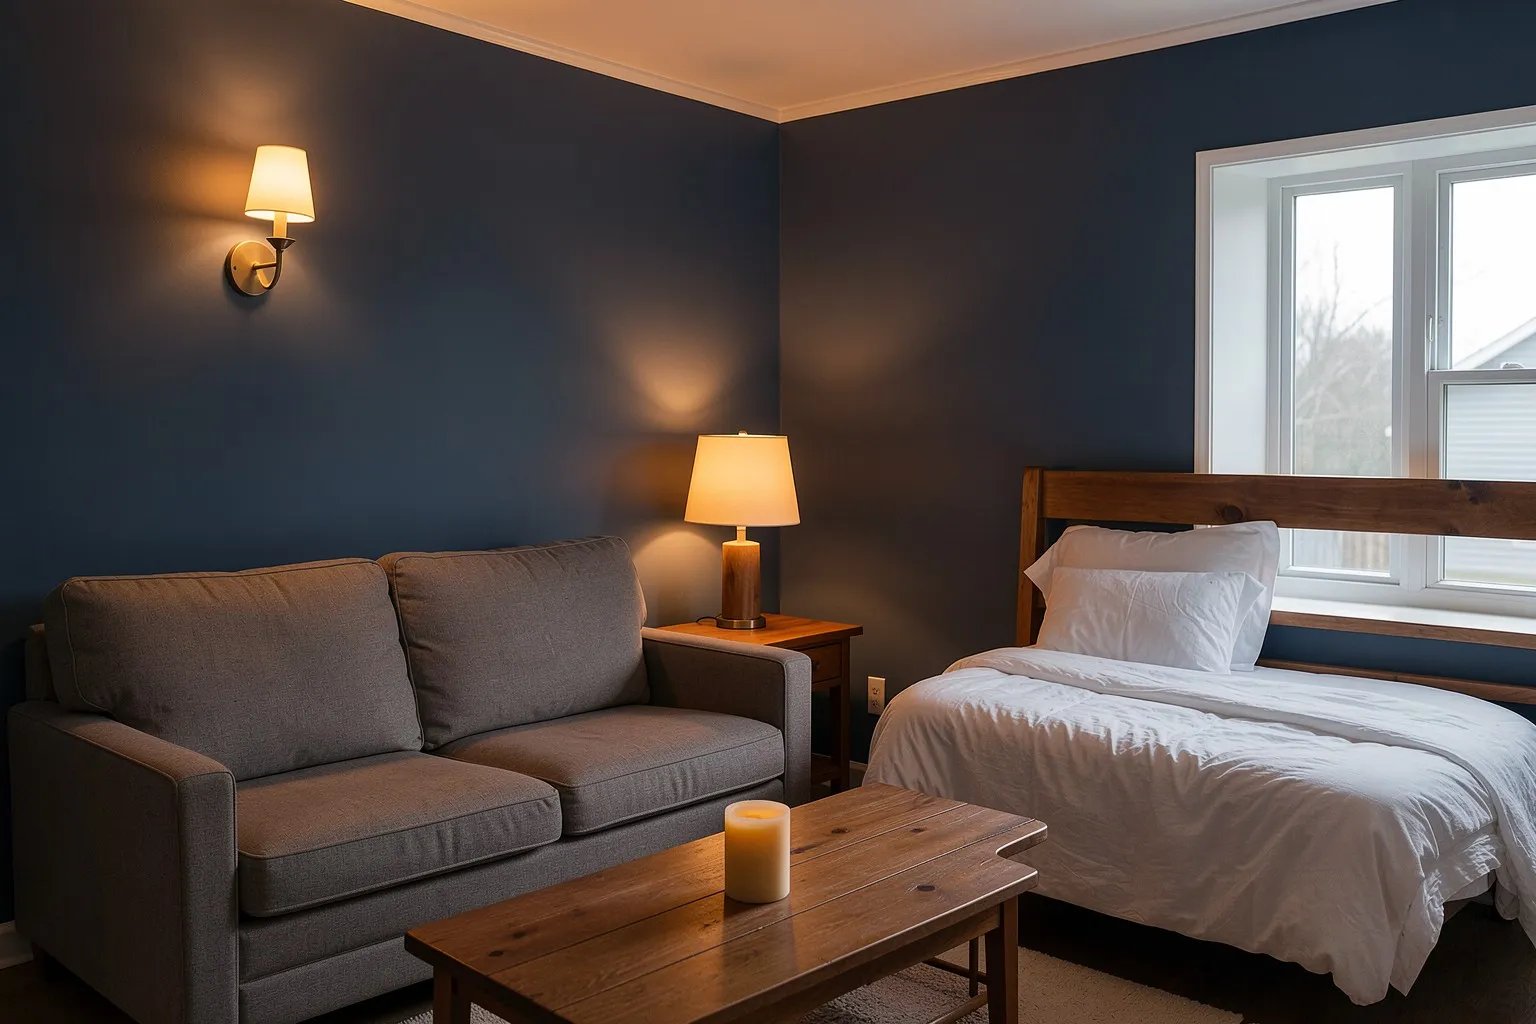
Light neutral colors make small rooms feel larger. A single deeper accent wall adds contrast for the price of one gallon. Choose washable satin or eggshell finishes for kitchens, baths and hallways and a flat finish for ceilings. Buy paint from one batch, or box several cans together, so the color matches. In a home built before 1978, test old paint for lead before sanding.
What about hardware and storage?
New knobs, pulls, hinges and hooks refresh cabinets and doors for very little, and storage makes a small room feel larger. These are beginner jobs that fit the $100 tier.
- Hardware: measure the distance between screw holes (center to center) and buy pulls that match, so you do not have to fill and re-drill. Match the metal finish across a room.
- Storage: add hooks, shelves above doors, and shelves in unused wall space. Use rated anchors and screw into studs for anything heavy.
- Closets: a second rod or a shelf divider gives more space than buying new furniture.
Can window treatments and a smart thermostat lower bills?
Yes, both can lower heating and cooling costs, and both are cheap compared with replacing windows or HVAC equipment. Results depend on your climate and habits, so treat the numbers as averages.
Window treatments
The Department of Energy says window attachments such as cellular (honeycomb) shades are a cost-effective alternative to replacement windows, and that installing them can save 15% of a household’s annual heating and cooling energy use compared with vinyl blinds. DOE also notes that blinds block some solar heat but do not provide much insulation. Measure carefully, because a close fit to the window frame matters. Close shades on sunny summer afternoons and at night in winter.
Smart thermostat
ENERGY STAR says certified smart thermostats save an average of about 8% of heating and cooling bills, or about $50 per year, and savings may be higher depending on climate, comfort preferences, occupancy and HVAC equipment. Check that your heating and cooling system is compatible before buying. Many models need a common wire; if you are not sure how your thermostat is wired, turn off power at the breaker and photograph the existing wiring before you disconnect anything, or ask an HVAC technician.
How do the three budget tiers compare?
The $100 tier gives the fastest change, the $500 tier gives the best finished-room result, and the $1,500 tier gives the longest-lasting change. Use the table above to match a tier to your skill and calendar, then read the verdict below it.
A good rule is to finish the cheaper tier in every room you use before spending on the next tier in one room. A freshly painted, well-lit house shows better than one new floor in a tired room.
Which upgrades pay back when you sell?
Only a few upgrades have published resale data, and they are replacements, not cosmetic touches. The 2025 Cost vs. Value report found a steel entry door recouped 216% of its $2,435 average cost, and a garage door recouped 268% of $4,672. A minor kitchen remodel averaged $28,458 and recouped 113%.
Those are national averages and your market will differ. If resale is the goal, read the breakdown of the highest-return DIY projects. If you plan to stay, choose upgrades you will enjoy.
How do you plan upgrades so you do not overspend?
Write a list, price every item, add a cushion, and set a stop point before you buy anything. The full method, including contingency and DIY-versus-pro decisions, is in the guide to planning a budget renovation.
What safety rules apply to cosmetic upgrades?
Cosmetic does not mean risk-free. Three rules cover most cases:
- Homes built before 1978 may have lead paint. Do not dry-sand or scrape it. The EPA’s rule requires lead-safe work by paid contractors, and EPA recommends lead-safe practices for DIYers too.
- Treat anything electrical as a licensed job unless it is a like-for-like swap with the breaker off, power verified dead, and manufacturer instructions followed.
- Check permits. Painting, tiling, carpeting, cabinets, countertops and similar finish work are exempt under the model code (IRC R105.2), which also says exemptions do not authorize work that violates the code. Local rules vary.
Which room should you upgrade first?
Start with the room you use and see most, usually the kitchen, living area or entry, because every dollar there is noticed daily. Guest rooms and basements can wait.
Kitchen
Cabinet hardware, a deep clean of grout and caulk, better bulbs and a painted wall give the most change per dollar. Painting cabinets is the biggest jump but takes a week of drying and curing.
Bathroom
Fresh caulk, a new mirror, a faucet and a light fixture update a bath for a few hundred dollars. If you see soft flooring, stained ceilings or a musty smell, fix the leak first. Cosmetic work over moisture damage fails.
Living areas and bedrooms
Paint, lighting and window coverings carry the room. Choose one wall color family and keep trim white or a close neutral so rooms flow together.
Entry and exterior
A clean, painted front door, readable house numbers and a tidy bed of mulch change first impressions. Many of these jobs cost under $100 each.
What mistakes make cheap upgrades look cheap?
Most “cheap” results come from rushed prep and mismatched finishes, not from low prices. Avoid these four:
- Skipping prep. Clean, fill, sand and prime before you paint. Paint hides color, not dirt or peeling.
- Mixing finishes. Match metal tones across hardware, faucets and fixtures in one room.
- Buying the cheapest caulk, tape or paint. The savings are small, and redoing the work costs more than the difference.
- Starting too many rooms. Unfinished rooms drain motivation and money. Finish one before starting the next.
How do you price your own upgrade list?
Pricing your list takes 30 minutes and prevents most budget surprises. Follow these steps:
- List each project and its materials: paint, tape, drop cloths, caulk, screws, anchors, hardware.
- Check local store prices and note the unit size, such as a gallon or a 10-foot run.
- Add tools you do not own, or note a rental or borrow option.
- Add about 10% for items you forgot.
- Total the list and compare it to your tier. Cut or delay the lowest-impact item if you are over.
Keep receipts and return unopened extras. Many stores accept returns on unopened paint and hardware, but policies differ, so ask before you buy.
| Tier | Best upgrades | Typical materials cost | Time | Skill level |
|---|---|---|---|---|
| $100 | Paint one room or an accent wall, swap cabinet hardware, replace bulbs, re-caulk a tub, new house numbers | $30-$150 per project | 2-8 hours each | Beginner |
| $500 | Paint a whole floor, new light fixture (swap only), peel-and-stick backsplash, shelving, mirror, front door paint and hardware | $150-$600 per project | 1 day to a weekend | Beginner to intermediate |
| $1,500 | Vinyl plank in a small room, cabinet painting with new hardware, new faucet and mirror in a bath, landscaping refresh | $600-$1,800 per project | A weekend to 1 week | Intermediate |
Start in the $100 tier on the rooms you see most. Move to the $500 tier once paint, caulk and lighting are done. Save the $1,500 tier for one room at a time so you finish what you start.
Questions and answers
What are the most cost-effective home upgrades?
Paint, lighting, hardware and exterior entry updates give the most visible change per dollar. A gallon of paint usually costs well under $100 and covers the walls of a small room, new cabinet pulls cost a few dollars each, and a painted front door costs under $100 in materials (planning estimates). These jobs also need few tools, so you avoid labor costs. Structural work, windows and full remodels cost far more for the same visible lift.
How can I upgrade my home for under $500?
Pick one room and focus on surface changes. Paint the walls, replace dated cabinet hardware, swap a light fixture like-for-like or change the bulbs, and add a mirror or shelves. In the kitchen, a peel-and-stick backsplash and new pulls fit under $500. Price each item before you buy, and leave about 10% for items you forgot, such as tape, drop cloths and caulk.
What upgrades add the most value?
Exterior replacements that fix first impressions pay back best in published data. The 2025 Cost vs. Value report found a steel entry door recouped 216% of its cost and a garage door 268%. Those figures are national averages for replacement jobs, not for paint or hardware, and local results vary. Cosmetic upgrades mainly help a home show well, so they pay back through easier sales, not a guaranteed price bump.
How do I prioritize upgrades on a tight budget?
Fix problems first, then upgrade looks. Leaks, damaged caulk, broken locks and failing gutters cost more the longer you wait. After repairs, rank projects by how often you see the space and how little each costs. Do entry, kitchen and living areas before guest rooms. Write the list, price each line, and stop when the budget is spent rather than starting everything at once.
Are DIY upgrades worth it?
DIY is worth it for low-risk finish work like painting, hardware, caulking and shelving, because labor is most of a contractor's bill and these jobs need basic skill. It is not worth it for gas, major electrical, structural or roofing work, where mistakes are unsafe and may fail inspection. Count your time and tool costs before deciding, and hire a licensed pro for anything that needs a permit.
What should I avoid when upgrading on a budget?
Avoid skipping prep, buying the cheapest paint or caulk, and starting several rooms at once. Poor prep ruins paint finishes, and bargain materials often need redoing, which costs more. Also avoid trends that date quickly. In homes built before 1978, do not sand or scrape old paint without lead-safe practices, because it may contain lead. Test first and follow EPA guidance.
Do I need a permit for cosmetic upgrades?
Usually not for finish work. The International Residential Code model (R105.2) lists painting, papering, tiling, carpeting, cabinets, countertops and similar finish work as exempt from a building permit. Electrical, plumbing, structural and some exterior work often are not. Rules are set locally, so call your building department before starting anything beyond surface changes, especially if you rent or live in an HOA.
Do LED bulbs and smart thermostats really save money?
Yes, within limits. The Department of Energy says LEDs use at least 75% less energy than incandescent bulbs and last 25 times longer. ENERGY STAR says certified smart thermostats save an average of about 8% of heating and cooling bills, or about $50 a year, with higher savings in some homes. Your savings depend on climate, habits and how many hours the lights run.
Our sources
- Cost vs. Value Report 2025 (Zonda / Remodeling, hosted by JLC) (jlconline.com)
- EPA: Renovation, Repair and Painting Program (lead-safe work in pre-1978 homes) (epa.gov)
- ICC: 2021 International Residential Code, Chapter 1, R105.2 Work exempt from permit (codes.iccsafe.org)
- ENERGY STAR: Smart thermostats FAQ (energystar.gov)
- U.S. Department of Energy: Guide to Energy-Efficient Lighting (energy.gov)
- U.S. Department of Energy: Interior Cellular Shades Boost Home Energy Performance (fact sheet) (energy.gov)
Related reading
- Budget Home Improvement: Where to Spend and Where to Save
Plan budget home improvement the smart way: what to fix first, which jobs you can DIY, what pays back, with a cost, difficulty and payoff table.
- DIY vs Hiring a Pro: When Doing It Yourself Actually Saves Money
Is DIY cheaper than hiring a pro? Count tools, time and mistakes, find your break-even hourly value, and see which jobs rarely pay off and which do.
- Tile Calculator: How Many Tiles and Boxes for Floor, Wall or Backsplash
Work out how many tiles and boxes a floor, wall or backsplash needs: area formula, grout joint, waste by pattern, thinset coverage and a worked example.
- Budget Renovation Tips: How to Plan, Save and Avoid Overspending
Budget renovation tips for setting a budget, adding a contingency, choosing what to save or splurge on, deciding DIY versus pro, and permits.
- Budget Kitchen Makeover: Ideas by Budget Tier
Plan a budget kitchen makeover by tier, from paint and hardware to lighting and backsplash, with a paint vs reface vs replace cabinet comparison.
- 15 Cheap Curb Appeal Ideas With Costs and Time Estimates
15 cheap curb appeal ideas with cost ranges and time for each, from a painted front door to mulch and lighting, plus the order to do them in.