DIY Home Repair for Beginners: What to Fix, What to Buy, When to Stop
DIY home repair for beginners starts with a short list of low-risk fixes: patching drywall, stopping a running toilet, clearing a clog, recaulking, and tightening loose hardware. You need a small kit of hand tools, a cordless drill, and a few safety items. Electrical, gas, structural, and lead-paint jobs have hard limits, and past those limits you hire a licensed professional.
DIY home repair is mostly a matter of knowing which jobs are worth learning, owning the few tools they need, and recognizing the point where a job stops being yours. This guide is the hub for all three. Each section below gives the short answer and sends you to the page that goes deeper.
Which home repairs should every homeowner know how to do?
Every homeowner should be able to handle a short list of low-risk fixes: shut off water and power at the source, patch a small wall hole, stop a running toilet, clear a clog, recaulk a seam, and tighten loose hardware. These jobs are cheap, forgiving, and common.
Our full walkthrough is in essential home repairs for budget-conscious homeowners. It covers eleven fixes with the steps and the stopping point for each. Here is what it covers and why each one earns its place.
Water: running toilets and drips
A running toilet is usually a worn flapper, a small rubber part. The EPA says household leaks waste more than 9,300 gallons per year in the average home, and that a worn flapper can silently leak thousands of gallons a year. Replacing one takes a few minutes and a part that costs little. A faucet that drips once per second wastes more than 3,000 gallons a year, according to the same EPA page.
Walls and trim: drywall patches and caulk
Small drywall holes need filler, thin coats, sanding, and primer. A recaulked tub or sink seam keeps water out of the wall behind it. Both jobs look like a pro finished them if you work slowly and let each coat dry. Both are covered in the repairs guide.
Doors and cabinets: sticking, squeaking, loose
Most sticking doors start with a loose hinge screw, not a planing job. Most loose cabinet doors need a tighter or re-anchored screw. These are fixes where a screwdriver and some patience replace a carpenter.
Drains without chemical cleaners
A plunger, a plastic hair-removal strip, a hand auger, or cleaning the trap clears most sink and tub clogs. Poison.org notes that swallowing non-enzymatic drain cleaners can cause serious burns and that baking soda and vinegar is unlikely to be strong enough for tough clogs, and it advises goggles and rubber gloves when you use any drain cleaner. Mechanical clearing avoids both problems.
What tools do you need for home repairs?
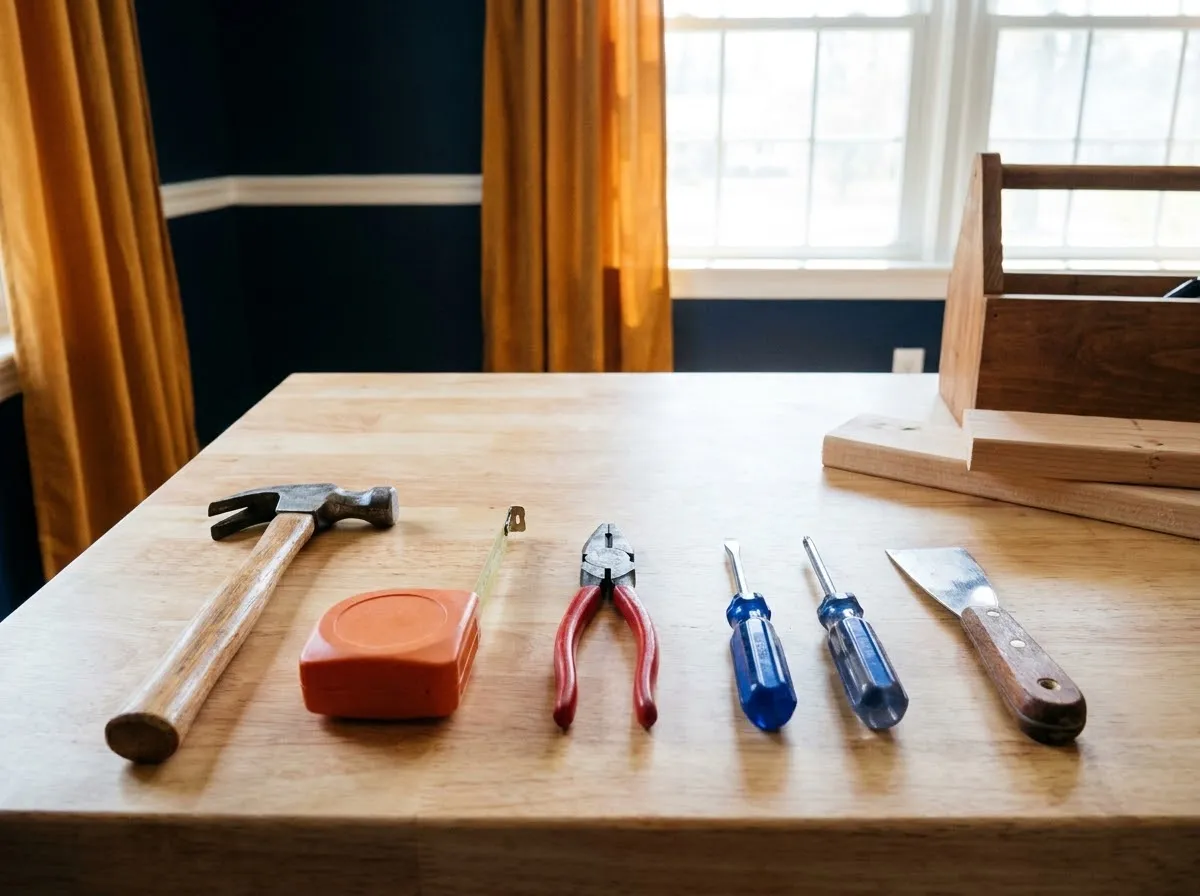
You need about fifteen tools to handle nearly every repair in this guide, and you can buy them over time. Start with measuring, driving, gripping, cutting, and safety items, then add tools only when a job demands them.
Our home repair tool kit guide sorts tools into three groups:
- Starter kit: tape measure, claw hammer, screwdrivers, adjustable wrench, pliers, utility knife, putty knives, level, caulk gun, plunger, cordless drill/driver, safety glasses, gloves, flashlight.
- Grow later: a drain auger, a wet/dry vacuum, a stud finder, a multi-tool, a pipe wrench, and similar tools you buy once a project proves you need them.
- Rent, do not buy: tile saws, floor sanders, pressure washers, and other tools you may use once.
The kit guide also explains why a non-contact voltage tester belongs in the starter kit and how to use one properly.
How much paint do you need for a repair?
Every drywall patch and wall repair ends with paint, and buying the wrong amount wastes money either way. Use the free sheet-count tool to size the patch or the whole wall (the sheet, mud and tape formulas are explained in a separate guide), and read the coverage on the can to buy the right amount of paint.
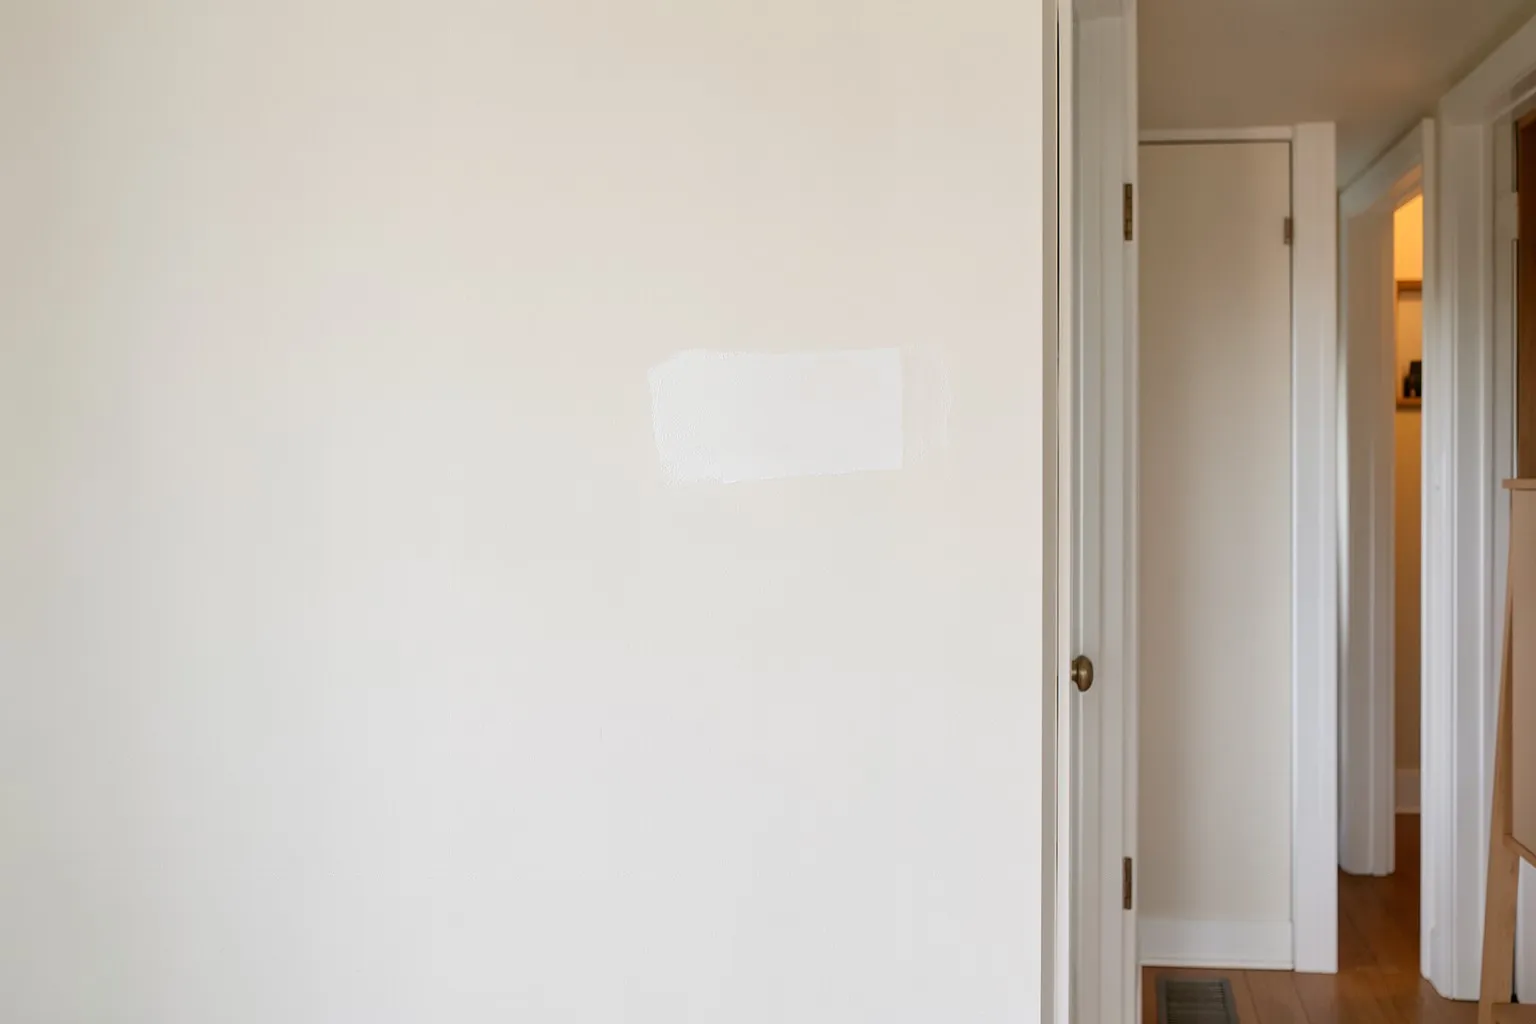
Buy a little extra of the exact color for future touch-ups, and label the can with the room and date.
Which repairs should you never DIY?
Never DIY jobs where a mistake can electrocute you, start a fire, cause a gas leak, or weaken the structure of your home. These jobs need a licensed professional, and many need a permit.
Use this ladder to decide:
| Level | Examples | What to do |
|---|---|---|
| Beginner-safe | Patching drywall, flapper replacement, recaulking, tightening hinges, clearing a clog with a plunger or auger | Do it yourself with basic tools |
| Careful DIY | Replacing a faucet, painting, replacing like-for-like hardware | Learn the steps first; know where the shutoffs are |
| Hire a licensed pro | New wiring, panel work, gas lines or appliances, removing or cutting load-bearing walls, roof work, anything needing a permit | Call a licensed electrician, plumber, or contractor |
Electrical work has the strictest limit
The only electrical task in the beginner repairs list is resetting a GFCI outlet. The CPSC says to test every GFCI after installation, after a power failure, and at least once a month. If the test button does not cut power, the CPSC says to contact a qualified electrician; if the reset button does not restore it, the device needs replacing. If a breaker keeps tripping, stop and call an electrician.
For everything beyond that, read our DIY electrical basics guide, which explains the risk ladder, permits, and why local code decides what you may do. The limits of home electrical projects is the companion page for deciding when to call an electrician.
Older homes add a lead-paint limit
The EPA says lead-based paint was banned for homes in 1978 and that about three-quarters of U.S. homes built before then still contain some. Its Renovation, Repair and Painting rule requires certified, lead-safe practices for paid work in those homes. The rule covers paid contractors, but the hazard is the same for you: assume old paint may contain lead, avoid dry sanding or scraping, and read the EPA guidance before disturbing it. The EPA’s lead-safe steps say to mist areas before sanding, scraping, drilling, or cutting to keep dust down.
What safety basics apply to every repair?
Know your shutoffs, wear eye protection, and verify before you touch. Before any job, find the main water shutoff, the fixture shutoffs under sinks and behind toilets, and the breaker panel, and label them.
- Wear safety glasses for anything that can chip, spray, or spatter.
- Wear gloves and eye protection with any chemical product, and never mix products.
- Turn off water at the fixture shutoff, then open a tap to confirm flow stops.
- For electrical work, turn the breaker off and verify with a non-contact tester and at the device. Klein Tools says to test the tester on a known live circuit before and after each use.
- Stop when you are unsure. A stalled repair costs less than a mistaken one.
How do you save money on home repairs without cutting corners?
Save by doing the small jobs yourself, buying tools only when a job needs them, and spending on materials that last. VT Cooperative Extension notes that premium caulks are designed to last 20 years or more, while cheaper products may last only a few years, so a slightly better tube pays off.
For the bigger picture on spending, see our guide to budget upgrades hub, which covers where to spend, where to save, and how to decide between DIY and a contractor. Fixing small problems early is also the cheapest way to avoid larger ones: a drip, a failed caulk line, or a loose hinge all get worse with time.
How do you stay safe on a ladder?
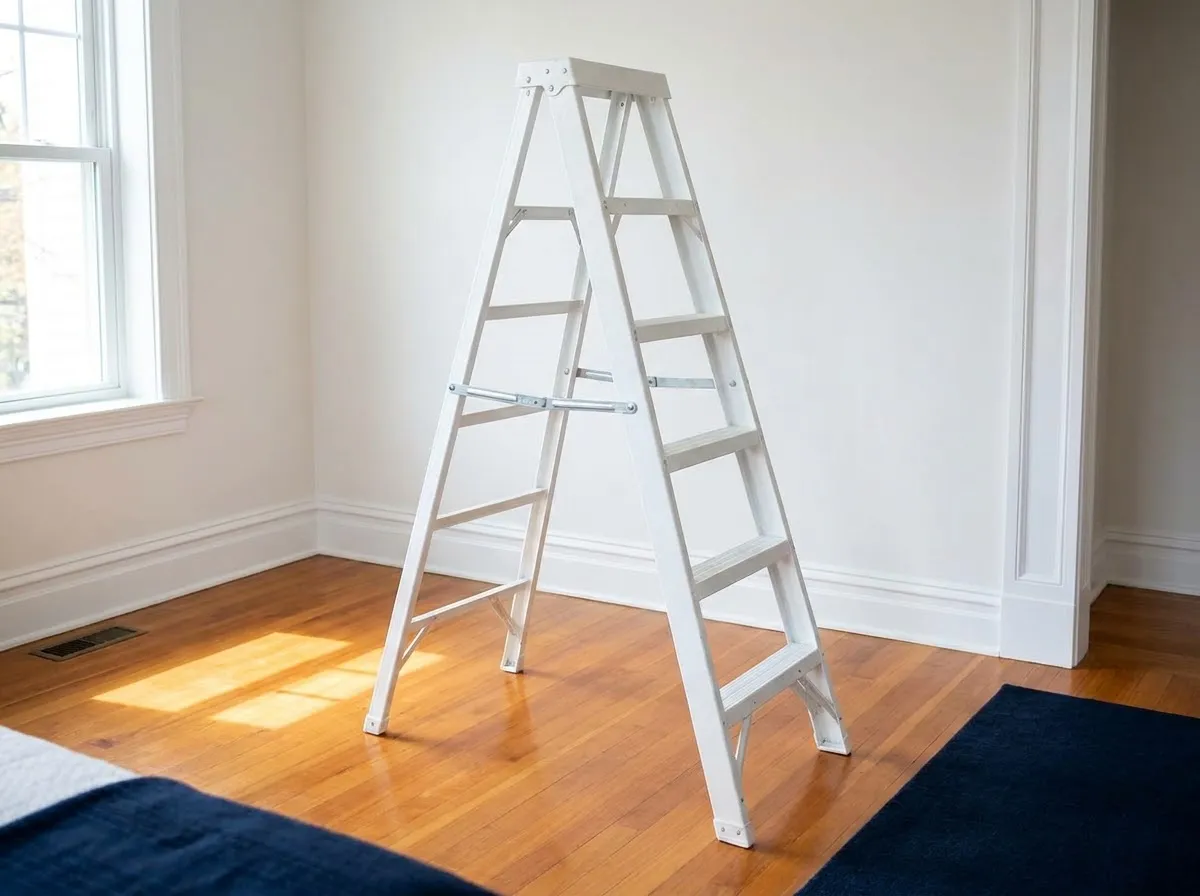
Set the ladder on level, dry, solid ground, keep three points of contact, and never reach past the edges. Following a few simple rules reduces the risk.
The National Institute for Occupational Safety and Health (NIOSH) gives these rules for portable ladders:
- Inspect the ladder first and check that all rungs or steps are in place and secure.
- Place it on a surface that is level, dry, and clean.
- Keep three points of contact (two hands and a foot, or two feet and a hand) at all times when climbing or descending.
- For an extension ladder, move the base 1 foot away from the wall for every 4 feet of climbing height.
- On the way down, know where the next rung or the floor is before you shift your weight. NIOSH notes the floor can be about 24 inches below the second-to-last rung.
Skip any repair that needs you to work from a ladder at roof height or near power lines. That is a job for a professional with the right equipment.
What should you do in a home emergency?
Shut off the source, make everyone safe, and then call the right person. Knowing your shutoffs turns most emergencies into small problems.
- Burst pipe or major leak: close the main water shutoff valve right away; if you cannot, shut the water off at the meter, as the City of Bellevue advises. Then turn on faucets to reduce the pressure from the burst pipe, as the City of Portland advises, and call a licensed plumber.
- Overflowing toilet: do not keep flushing. Turn off the shutoff valve behind the toilet, and use the main shutoff if it will not turn. Do not force a corroded valve.
- Sparks, a hot outlet or switch, or a burning odor from wiring: stop using it and call a qualified electrician, as the CPSC advises. If you see smoke or flames, leave the house and call 911.
- Smell of gas: leave the premises immediately and tell others to leave. Do not flip light switches or use anything that could spark, and put out open flames. Call your gas company from a phone away from the smell, such as a neighbor’s, and do not go back inside until the gas company says it is safe (Connecticut PURA).
Most of these steps need no tools, only knowledge of where things are, so do the shutoff walk-through before the day you need it.
What mistakes do beginners make on home repairs?
The most common beginner mistakes are skipping prep, using the wrong part, rushing dry times, and pushing past a stopping point. Each is easy to avoid once you know it.
- Skipping the prep: caulk over dirty or damp surfaces fails early, and paint over unprimed filler looks patchy. Clean, dry, and prime first.
- Using the wrong part: take the old part to the store or note the model number, because toilet flappers, faucet cartridges, and hinges come in many styles.
- Applying thick coats: thin layers of joint compound dry harder and crack less.
- Forcing stuck parts: a corroded valve or seized fitting that breaks can turn a ten-minute job into a flooding emergency.
- Using chemicals without protection: Poison.org advises goggles and rubber gloves with drain cleaners. Never mix cleaning products, and follow each label.
- Ignoring the cause: a patch over a stain or a fresh bead over soft wood hides a leak rather than fixing it.
- Skipping the verify step: after any water repair, run the fixture and check the joints again an hour later.
How do you decide whether to DIY or hire a pro?
Ask four questions: can it hurt me, can it hurt the house, can I undo it, and does it need a permit? If the honest answer to the first, second, or fourth is yes, or the third is no, hire a pro.
- Can it hurt me? Electricity, gas, heights, and lead dust are the big four.
- Can it hurt the house? Structural cuts, roofing, and plumbing inside walls can cause costly damage if wrong.
- Can I undo it? A patch can be redone; a cut load-bearing stud cannot.
- Does it need a permit or license? Your local building department sets the rules, so ask before you start.
Hiring is not a failure. A good rule is to do the small jobs yourself and pay a licensed professional for the ones where the cost of a mistake is high. Ask for licenses and references, and get more than one written quote.
What is a good first month of home repair?
Learn your house before you fix it. A first month might look like this:
- Week 1: locate and label the shutoffs and breaker panel, and buy the starter kit from the tool guide.
- Week 2: fix one small leak or running toilet, and do the food-coloring test the EPA describes to check the others.
- Week 3: patch the wall holes, recaulk one seam, and tighten every loose hinge and door screw.
- Week 4: test every GFCI outlet, as the CPSC advises at least monthly, and write a list of jobs that need a pro.
Keep that list. Having a short, written list of pro jobs makes it easier to get quotes and to decide what to spend next.
Where should you start?
Start with the repair you have already been putting off. Read the matching section of the repairs guide, buy only the tools it names from the tool kit guide, and use the compare the cost of hiring out when you are unsure whether to hire out. One finished repair teaches more than reading ten guides.
All Repairs Tools guides
- Basic Home Repairs Every Homeowner Can Do Themselves
Eleven basic home repairs you can do yourself: drywall patch, running toilet, clogged drain, sticking door, recaulking, loose hinges, and a GFCI reset.
- Home Repair Tool Kit: What You Actually Need and What to Skip
Build a home repair tool kit in three stages: the starter tools to buy now, what to add later, and what to rent, with a voltage tester for safety.
- How Many Sheets of Drywall Do I Need? Walls, Ceilings, Mud and Tape
Work out how many drywall sheets, how much joint compound and tape a room needs, with the area formula, waste allowance and a worked 12 x 12 ft example.
Questions and answers
What home repairs can a beginner do?
A beginner can safely patch small drywall holes, replace a toilet flapper, clear a sink clog with a plunger or hand auger, recaulk a tub, tighten loose hinges and screws, fix a sticking or squeaky door, and press the reset button on a GFCI outlet. These jobs use common hand tools, carry low risk, and are easy to undo if something goes wrong. Wiring, gas lines, and structural changes are not beginner repairs.
What are the first tools to buy for home repairs?
Start with a tape measure, claw hammer, screwdrivers, an adjustable wrench, pliers, a utility knife, a putty knife, a level, a caulk gun, a plunger, and a cordless drill with bits. Add safety glasses, work gloves, and a non-contact voltage tester. This kit handles most of the common repairs in this guide. Buy specialty tools only when a specific job needs them, and rent the expensive ones.
How do I know when a repair is too big to DIY?
Stop and call a licensed professional when the job involves new or altered wiring, gas lines, structural walls, roof work at height, or a permit. Also stop when a repair keeps failing, when you find water damage or mold behind a wall, or when you cannot shut off the utility safely. If you would not know how to undo your own mistake, treat the job as a pro job.
Is it cheaper to fix things yourself?
Usually yes for small repairs, because you pay for parts and a few tools instead of labor and a service call. A toilet flapper or a tube of caulk costs little compared with a plumber's visit. The savings disappear if you buy tools you use once, damage something, or have to hire a pro to redo the work. Rent specialty tools and learn the repair first.
Do I need a permit for home repairs?
Cosmetic and like-for-like repairs, such as patching drywall, caulking, or replacing a flapper, generally do not need one. Work that changes wiring, plumbing layout, gas, or structure often does, and the rules are set by your city or county. Call your local building department before starting anything beyond a simple repair, and ask whether a licensed contractor is required.
Is it safe to sand or scrape paint in an older home?
Not without precautions. The EPA says lead-based paint was banned for homes in 1978 and about three-quarters of homes built before then still contain some. The EPA says lead dust can form when lead-based paint is scraped or sanded. In a pre-1978 home, assume old paint contains lead, avoid dry sanding, and follow EPA lead-safe guidance, which says to mist areas before sanding or scraping, or hire a lead-safe certified contractor.
Our sources
- EPA WaterSense: Fix a Leak Week (epa.gov)
- EPA WaterSense: Residential Toilets (epa.gov)
- U.S. CPSC: GFCI Fact Sheet (Pub. 099) (cpsc.gov)
- Klein Tools NCVT1P Non-Contact Voltage Tester instructions (data.kleintools.com)
- EPA: Renovation, Repair and Painting Program (epa.gov)
- Poison.org: What's in drain cleaner and what happens if you drink it? (poison.org)
- Virginia Tech Cooperative Extension: What about Caulking and Weather-Stripping? (pubs.ext.vt.edu)
- EPA: Steps to Lead-Safe Renovation, Repair and Painting (epa.gov)
- CPSC: Guide to Home Wiring Hazards (cpsc.gov)
- City of Bellevue: Prevent frozen pipes and what to do if one breaks (bellevuewa.gov)
- City of Portland Water Bureau: Prepare for winter (portland.gov)
- Connecticut PURA: What To Do If You Smell Natural Gas (portal.ct.gov)
- NIOSH: Ladder Safety in the Wholesale and Retail Trade Sector (cdc.gov)
Related reading
- How Many Sheets of Drywall Do I Need? Walls, Ceilings, Mud and Tape
Work out how many drywall sheets, how much joint compound and tape a room needs, with the area formula, waste allowance and a worked 12 x 12 ft example.
- Basic Home Repairs Every Homeowner Can Do Themselves
Eleven basic home repairs you can do yourself: drywall patch, running toilet, clogged drain, sticking door, recaulking, loose hinges, and a GFCI reset.
- Home Repair Tool Kit: What You Actually Need and What to Skip
Build a home repair tool kit in three stages: the starter tools to buy now, what to add later, and what to rent, with a voltage tester for safety.