DIY Bathroom Upgrades You Can Finish in a Single Day
The best DIY bathroom upgrades you can finish in a single day are recaulking the tub or shower, swapping the faucet aerator and showerhead, changing vanity hardware, hanging a new mirror, replacing a light fixture only if you can do it safely, and repainting. They use basic tools, avoid moving plumbing, and give the biggest visible change per dollar spent.
From the guide: Budget Home Improvement: Where to Spend and Where to Save
DIY bathroom upgrades work best as small, separate jobs, each finished and dry before you move on. This guide is one of the quick wins in our budget upgrades hub: six jobs that need basic tools, avoid moving plumbing, and fit into a day. Start with the ones that repair something (caulk), then do the ones that change the look.
Which bathroom upgrades are worth doing in a day?
Choose the jobs that change what you see and use every day without touching drains, supply lines or wiring in walls. For scale, the 2025 Cost vs. Value report puts a midrange bath remodel at a national average of $26,138 in job cost, and it recouped 80% at resale. One-day updates cost a small fraction of that, but they are not remodels, and they will not fix a leak or rot.
A realistic plan for one day: recaulk first so it can cure, do the faucet, showerhead and hardware while it does, then hang the mirror and finish with paint touch-ups. Do the light fixture only if the safety rules below are met.
How do you recaulk a bathtub or shower?
Remove all the old caulk, clean and dry the joint, then run one continuous bead and smooth it before it skins over. New sealant will not bond well to old caulk or damp surfaces, so the prep decides how long the job lasts.
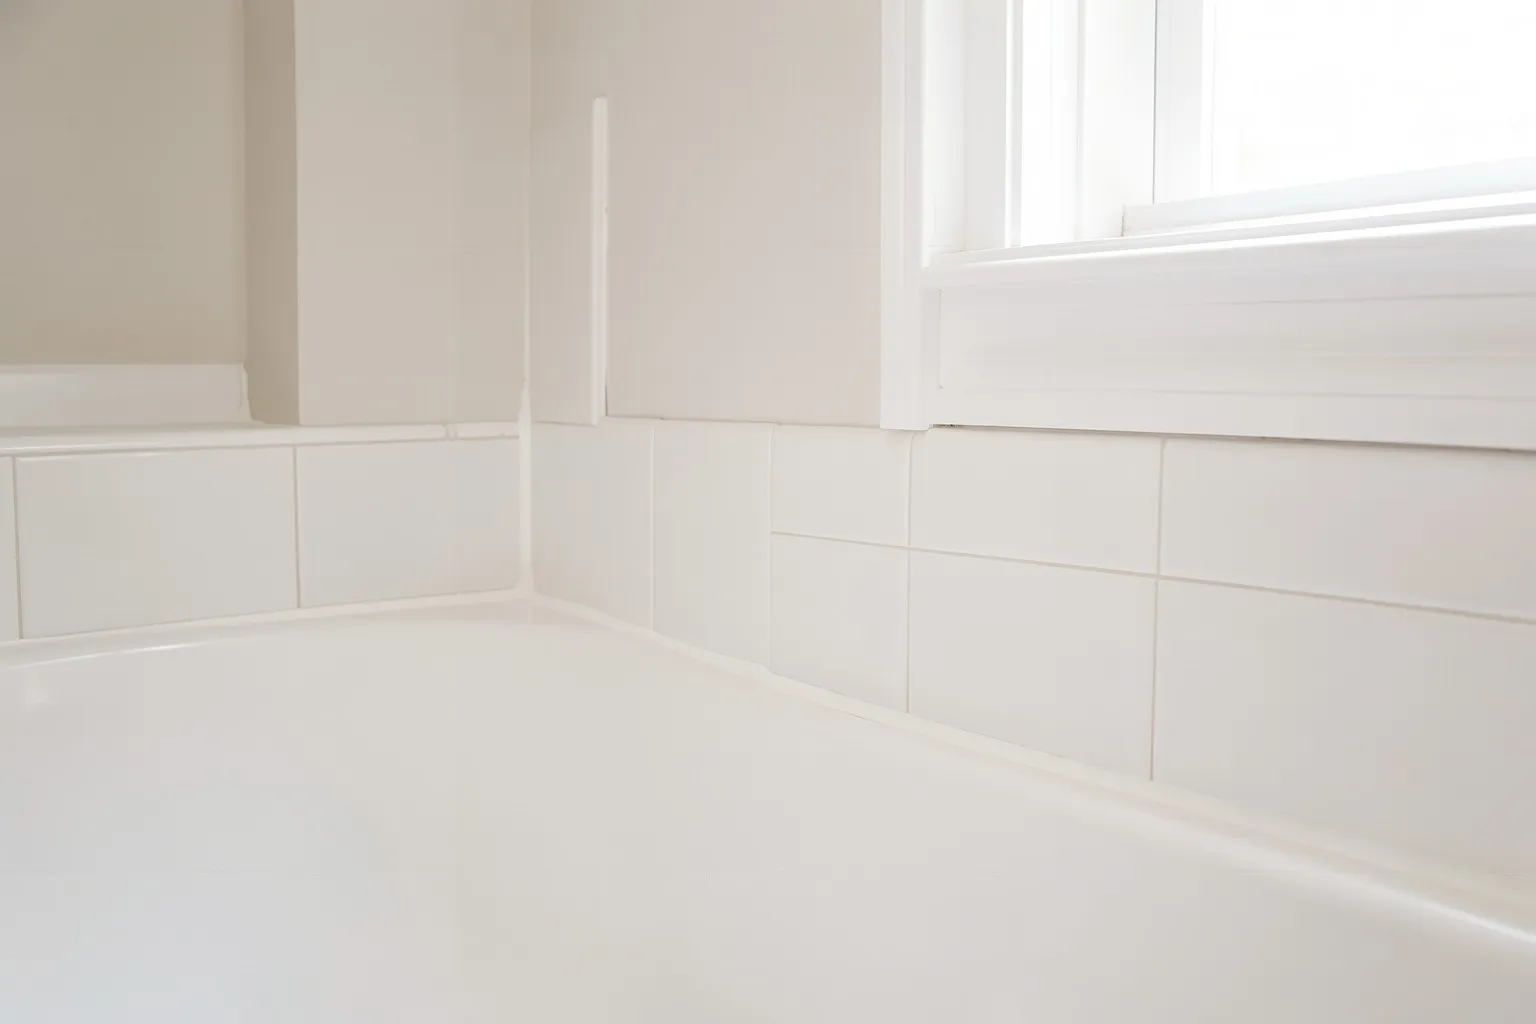
- Cut out the old caulk with a plastic removal tool. Leave no fragments.
- Clean the joint with rubbing alcohol or a mold-resistant cleaner.
- Let it dry fully. Moisture under new sealant ruins adhesion.
- Tape both sides of the joint about 1/8 inch away to keep the line straight.
- Run one continuous bead with even pressure.
- Smooth it within a few minutes, before it starts to skin.
- Pull the tape, then keep water off it as long as the label says.
GE says its silicone sealant is water-ready in 30 minutes but should not be touched or exposed to water for 24 hours so it fully cures. Other products differ, so follow the label. If the old caulk hides black staining that returns, or the grout or tile behind is soft, you have a moisture problem to fix first; see our basic home repairs guide.
How do you replace a faucet aerator or showerhead?
Unscrew the old part by hand or with a wrench over a cloth, clean the threads, and screw on the new one, hand-tight. Both are 10-minute jobs and need no plumber.
WaterSense is the EPA’s water-efficiency label. WaterSense showerheads use no more than 2.0 gallons per minute versus 2.5 for a standard model, and the EPA estimates the average family could save about 2,700 gallons of water a year, plus energy for heating it. WaterSense bathroom sink faucets and accessories are capped at 1.5 gpm versus a standard 2.2, and the EPA notes a WaterSense aerator can simply twist onto an existing faucet.
Wrap the threads of a showerhead arm with plumber’s tape and test for drips. If the arm itself turns or leaks, stop and call a plumber.
How do you update vanity hardware?
Replace the pulls and knobs, which changes a vanity in 15 minutes per door. Measure the distance between screw holes on your existing pulls, center to center, and buy pulls with the same spacing so you can reuse the holes.
For a fuller change, paint the vanity: remove doors, degrease, prime and apply two coats of enamel, allowing the dry times on the can. That makes it a two-day project, not a one-day one, but you can do the other jobs while it dries.
How do you hang a new bathroom mirror or swap a medicine cabinet?
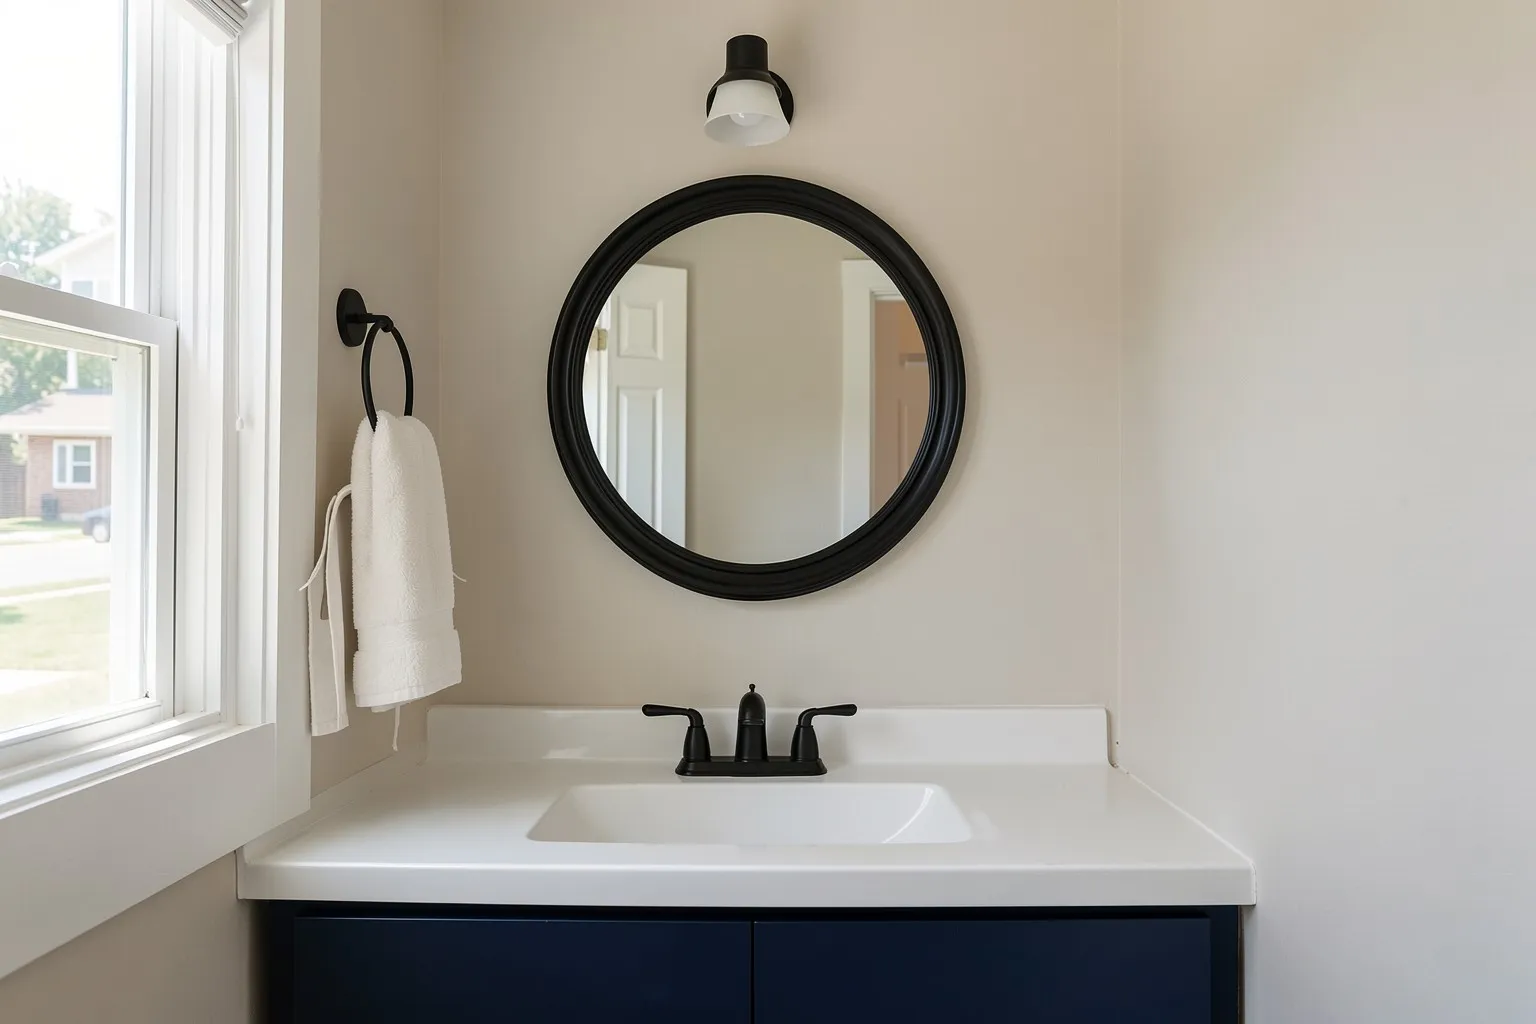
Hang a plain mirror on a stud or on anchors rated well above its weight, and treat a medicine cabinet as a heavier job that must be fastened to the studs. A mirror is a one-hour job; a medicine cabinet is a half-day with a helper.
Plain mirror
- Check the weight on the packaging and use hardware rated for it. Anchor ratings on the pack are best-case figures, so leave a wide margin and use toggle-style anchors for heavier mirrors.
- Use a stud finder and fasten into a stud where you can.
- Mark with a level before you drill, and keep the mirror clear of sinks and faucets so it stays dry.
Medicine cabinet
Kohler’s installation guide for its lighted medicine cabinet says these cabinets are very heavy and you should get help lifting them. For a recessed install, the wall cavity must be framed and the cabinet fastened to the framing studs. For a surface mount, you mark the mounting bar position and stud locations, secure the bar with screws into a stud or with anchors, then hang the cabinet on the bar.
Do not cut into a wall without checking what is behind it: pipes, wiring and ducts can run inside the wall. If the cabinet is lighted or needs a new outlet, that is electrical work; Kohler says a qualified electrician must route the wiring for that product, and your local code applies. For an unlighted cabinet, follow your maker’s instructions for the wall type.
Can you replace a bathroom light fixture yourself?
Yes, if you can switch off the circuit, prove it is dead, and follow the manufacturer’s instructions; if not, hire an electrician. Fixture swaps are a common one-day job, but they are also the only job in this list that involves household wiring.
Electrical safety note:
- Turn off the breaker and label it so no one turns it back on.
- Confirm the power is off with a non-contact tester, and again at the fixture.
- Follow the fixture manufacturer’s instructions and your local electrical code, which is the National Electrical Code with local amendments.
- Make sure the new fixture is rated for a damp location, if it is near the tub or shower.
- Stop and call a licensed electrician if the wiring is old, cracked, aluminum, has no ground, or does not match the new fixture.
Our DIY electrical basics guide covers the limits in more detail. If you have never done it, practice the routine on a simple job first; see how to install a light switch.
How do you clean and seal bathroom grout?
Planning new tile instead? Work out the quantity first with the tile calculator guide.
Clean the grout, repair any cracks, let it dry, then apply a penetrating sealer in thin coats. This is a one-day job whose result you can use only after the sealer cures. Clean grout and fresh caulk together make a bathroom look newer.
- Clean the lines with a soft brush or toothbrush and mild soapy water. Check your tile maker’s advice first, and avoid acids on natural stone: Aqua Mix says its sealer will not prevent etching from acids or caustic chemicals.
- Repair cracked or crumbling grout first. Sealer cannot fix a failed joint.
- Let it dry completely. The manufacturer’s sheet says the surface should be dry, clean and free of waxes, sealers or finishes, and that new installations need to be dry 48 hours before application.
- Choose a penetrating sealer made for tile and grout. Aqua Mix describes its penetrating sealer as water-based and breathable (it allows moisture vapor transmission).
- Apply the sealer with a paint pad, sponge or brush, let it penetrate for up to 5 minutes, then wipe the surface completely dry with clean towels. Dried sealer can leave a white film.
- Test after 2 hours with a few drops of water. If they soak in, apply another coat, leaving 30 minutes between coats.
The Aqua Mix sheet says to keep the area dry for 12 hours, and that full cure takes 24 hours. Your sealer’s label overrides any general figure. If the grout is new, wait as long as the grout maker says before sealing it.
How do you replace a toilet fill valve or seat?
A fill valve swap is a common one-hour repair for a toilet that runs or fills slowly, and a seat swap takes minutes. Both are safe DIY jobs because they do not touch the wax ring or drain.
Fill valve
Fluidmaster’s installation instructions for its 401LGR fill valve start with marking the water level with a pencil, then turning off the water supply, flushing the toilet and removing the remaining water from the tank with a sponge. Then you:
- Disconnect the supply coupling nut and remove the locknut under the tank.
- Lift out the old valve.
- Set the new valve’s height so the top is 3 inches above the overflow pipe, as the maker specifies.
- Install it with the supply connection, and tighten by hand. Fluidmaster warns that overtightening nuts can crack the tank or bowl.
- Clip the refill tube to the overflow pipe, restore the water and check for leaks.
Fluidmaster also warns against drop-in toilet bowl cleaners that contain bleach or chlorine, which damage tank parts and can cause flooding. Your own valve’s instructions may differ, so follow the ones in the box.
Toilet seat
Most seats attach with two bolts at the back of the bowl. Measure the distance between the bolt holes and the bowl shape (round or elongated) before you buy. Loosen the old bolts, fit the new seat, and tighten the bolts only until the seat is snug, since over-tightening can crack porcelain.
If the toilet rocks, leaks at the floor or the tank leaks at its base after you tighten, that is a bigger repair; see our basic home repairs guide.
Does your bathroom exhaust fan work, and can you replace it?
A bathroom fan should vent outdoors, not into the attic, and a weak fan leaves moisture that can damage paint and caulk. Checking it takes five minutes; replacing it is a bigger job.
The EPA’s moisture guidance says to use exhaust fans in bathrooms and kitchens and to vent them outdoors rather than into the attic. It also advises fixing water leaks around tubs and sinks, because leaks give mold a place to grow. A fan that is weak, noisy or venting into the attic needs attention.
Quick checks:
- Hold a square of tissue to the grille while the fan runs. It should stick.
- Clean the grille and cover with a vacuum and damp cloth after switching the fan off at the wall switch.
- Look for condensation on mirrors that lasts long after a shower.
If you replace the fan, ENERGY STAR sets limits that help you choose: certified bathroom fans must meet a minimum efficacy and a noise limit of 2.0 sones for fans up to 200 CFM. Check the label for CFM, sones and ENERGY STAR certification. A like-for-like swap uses the existing duct and wiring, but the wiring part is electrical work: follow our DIY electrical basics guide and hire a licensed electrician for new wiring, a new duct run or a new switch.
What should you know about GFCIs in a bathroom?
A GFCI (ground-fault circuit interrupter) outlet shuts off power quickly if it detects a ground fault, and you should test yours monthly. ESFI says the National Electrical Code currently requires GFCIs in all bathrooms, and the CPSC dates the bathroom requirement to 1975. Some lighted mirrors and medicine cabinets also require a GFCI-protected circuit.
Leviton’s instructions for testing its GFCI receptacles are:
- Plug a lamp or radio into the outlet and switch it on.
- Press the TEST button. The device should trip and cut power.
- Press RESET. Power should return.
Leviton says a GFCI that fails this test should be replaced immediately by a licensed electrician. Kohler’s lighted medicine cabinet guide likewise tells installers to connect only to a circuit protected by a GFCI. The CPSC notes that the NEC typically applies to new construction and major renovations, and adoption varies locally, so an older bathroom without a GFCI is not necessarily out of compliance. Even so, if you have no GFCI outlet in the bathroom, ask a licensed electrician about adding protection.
How do you paint a bathroom?
Clean the walls, fix moisture problems, use paint labeled for bathrooms, and keep the exhaust fan running. Paint is the cheapest way to change a room, but it fails fast on a wall that stays damp.
- Scrub mildew and soap scum off the walls and let them dry.
- Patch holes, sand lightly and wipe off the dust.
- Tape edges and cover the tub, floor and vanity.
- Prime stains, then apply two coats, following the can’s dry times.
If your home was built before 1978, the paint may contain lead. The EPA’s lead renovation rule covers contractors and generally not owners working on their own home, but the EPA still recommends lead-safe practices: do not dry-sand or scrape suspect paint, and keep dust contained.
What should you skip in a one-day bathroom update?
Skip anything that moves water, drains or vents, and anything that depends on a long cure time.
- Replacing a toilet, vanity top or tub is a multi-day job with plumbing.
- Retiling a shower needs waterproofing and cure time.
- New wiring or an exhaust fan duct needs a licensed trade and often a permit.
What to do next
If this list leaves you with budget and energy, compare it with other quick jobs in our weekend projects under $100 and affordable home upgrades by budget. For planning and contingency, see our budget renovation tips, and to decide what pays back, read the highest-return DIY projects.
Questions and answers
What bathroom upgrades can I do in one day?
Recaulking the tub, replacing a faucet aerator and showerhead, changing cabinet pulls, hanging a new mirror, and repainting walls are all one-day jobs for a beginner with basic tools. Swapping a light fixture is also a one-day job, but it involves household wiring, so only do it if you can safely turn off and verify the power. Anything involving the tub, toilet or drain lines takes longer.
How do I recaulk a bathtub?
Cut out all the old caulk with a plastic removal tool, clean the joint with rubbing alcohol or a mold-resistant cleaner, and let it dry fully. Tape both sides of the joint, run one continuous bead, and smooth it within a few minutes. GE says its sealant is water-ready in 30 minutes but needs 24 hours to fully cure, so check your product's label.
How long should I wait to shower after caulking?
Follow the label on your caulk. One manufacturer, GE, says its silicone sealant is water-ready in 30 minutes but should not be exposed to water for 24 hours to cure fully. Other products differ, and cool or humid rooms slow curing. If you are unsure, wait a full day before showering, and keep the room ventilated.
Will a low-flow showerhead save water?
Yes. The EPA says WaterSense showerheads use no more than 2.0 gallons per minute, compared with 2.5 gpm for a standard model, and estimates an average family could save about 2,700 gallons of water a year. Because less hot water is used, there is also an energy saving. Look for the WaterSense label on the box.
Can I replace a bathroom light fixture myself?
Only if you can turn off the circuit breaker, confirm the power is off with a non-contact tester and again at the fixture, and follow the fixture maker's instructions and your local code. If the wiring is old, damaged, has no ground, or does not match the new fixture, hire a licensed electrician. Bathrooms are damp, so the fixture must also be rated for the location.
What paint should I use in a bathroom?
Use a paint labeled for bathrooms or high-moisture rooms, and check the manufacturer's data sheet for the recommended finish. Clean the walls first, fix any mildew at its source, and run the exhaust fan while painting and drying. If you see peeling or recurring mold, the cause is moisture, not the paint, so address ventilation or leaks before repainting.
How much can I save by doing bathroom updates myself?
You pay only for materials and tools rather than a contractor's labor, which is usually the larger part of a pro quote. Exact savings depend on your area and the job, so we do not quote a single number. Get a local quote for comparison, and be realistic about your skill and time before deciding.
How do I clean and seal bathroom grout?
Scrub the grout with a toothbrush and soapy water, repair any cracks, and let it dry completely. Then apply a penetrating sealer with a sponge, brush or pad, let it soak in for up to 5 minutes, and wipe the surface completely dry. Custom Building Products' Aqua Mix Sealer's Choice Gold sheet says to keep the area dry for 12 hours, with full cure at 24 hours. Follow your own sealer's label.
Do I need to replace my bathroom exhaust fan?
Replace it if it is very loud, barely moves air, or vents into the attic. The EPA advises venting bathroom fans outdoors rather than into the attic, because trapped moisture feeds mold. When shopping, look for the ENERGY STAR label, which includes a noise limit of 2.0 sones for bathroom fans up to 200 CFM. Hire a licensed electrician if the swap involves new wiring.
How often should I test a bathroom GFCI outlet?
Test it monthly, as ESFI advises. Leviton's instructions say to plug in a lamp, press TEST, confirm the power cuts off, then press RESET to restore it. A GFCI that fails the test should be replaced immediately by a licensed electrician. ESFI says GFCIs should be tested every month.
Our sources
- US EPA WaterSense: Showerheads (epa.gov)
- US EPA WaterSense: Bathroom sink faucets and accessories (epa.gov)
- GE Sealants: How to recaulk your bathtub (gesealants.com)
- 2025 Cost vs. Value Report, national averages (via JLC) (jlconline.com)
- US EPA: Lead Renovation, Repair and Painting Program (epa.gov)
- US EPA: What are the main ways to control moisture in your home? (epa.gov)
- ENERGY STAR: Ventilating fans key product criteria (energystar.gov)
- Custom Building Products: Aqua Mix Sealer's Choice Gold technical data sheet (TDS-158) (custombuildingproducts.com)
- Fluidmaster 401LGR fill valve installation instructions (res.cloudinary.com)
- Kohler lighted medicine cabinet installation and care guide (techcomm.kohler.com)
- ESFI: Ground Fault Circuit Interrupters (GFCI) (esfi.org)
- CPSC fact sheet: What is a GFCI? (cpsc.gov)
- Leviton: How to test a GFCI (leviton.com)
Related reading
- Budget Home Improvement: Where to Spend and Where to Save
Plan budget home improvement the smart way: what to fix first, which jobs you can DIY, what pays back, with a cost, difficulty and payoff table.
- DIY vs Hiring a Pro: When Doing It Yourself Actually Saves Money
Is DIY cheaper than hiring a pro? Count tools, time and mistakes, find your break-even hourly value, and see which jobs rarely pay off and which do.
- Tile Calculator: How Many Tiles and Boxes for Floor, Wall or Backsplash
Work out how many tiles and boxes a floor, wall or backsplash needs: area formula, grout joint, waste by pattern, thinset coverage and a worked example.
- Affordable Home Upgrades by Budget: $100, $500 and $1,500 Ideas
Affordable home upgrades sorted by budget: what $100, $500 and $1,500 buys, with cost ranges, time, skill level and a comparison table.
- Budget Renovation Tips: How to Plan, Save and Avoid Overspending
Budget renovation tips for setting a budget, adding a contingency, choosing what to save or splurge on, deciding DIY versus pro, and permits.
- Budget Kitchen Makeover: Ideas by Budget Tier
Plan a budget kitchen makeover by tier, from paint and hardware to lighting and backsplash, with a paint vs reface vs replace cabinet comparison.