How to Install a Light Switch: Replace a Single-Pole Switch Safely
To install a light switch, turn off the circuit breaker, prove the wires are dead with a voltage tester, disconnect the old single-pole switch, connect the ground and the two other wires to the new switch, mount it and restore power. This like-for-like swap is only for copper wiring in good condition; stop for aluminum wiring, no ground, 3-way switches or damaged wires.
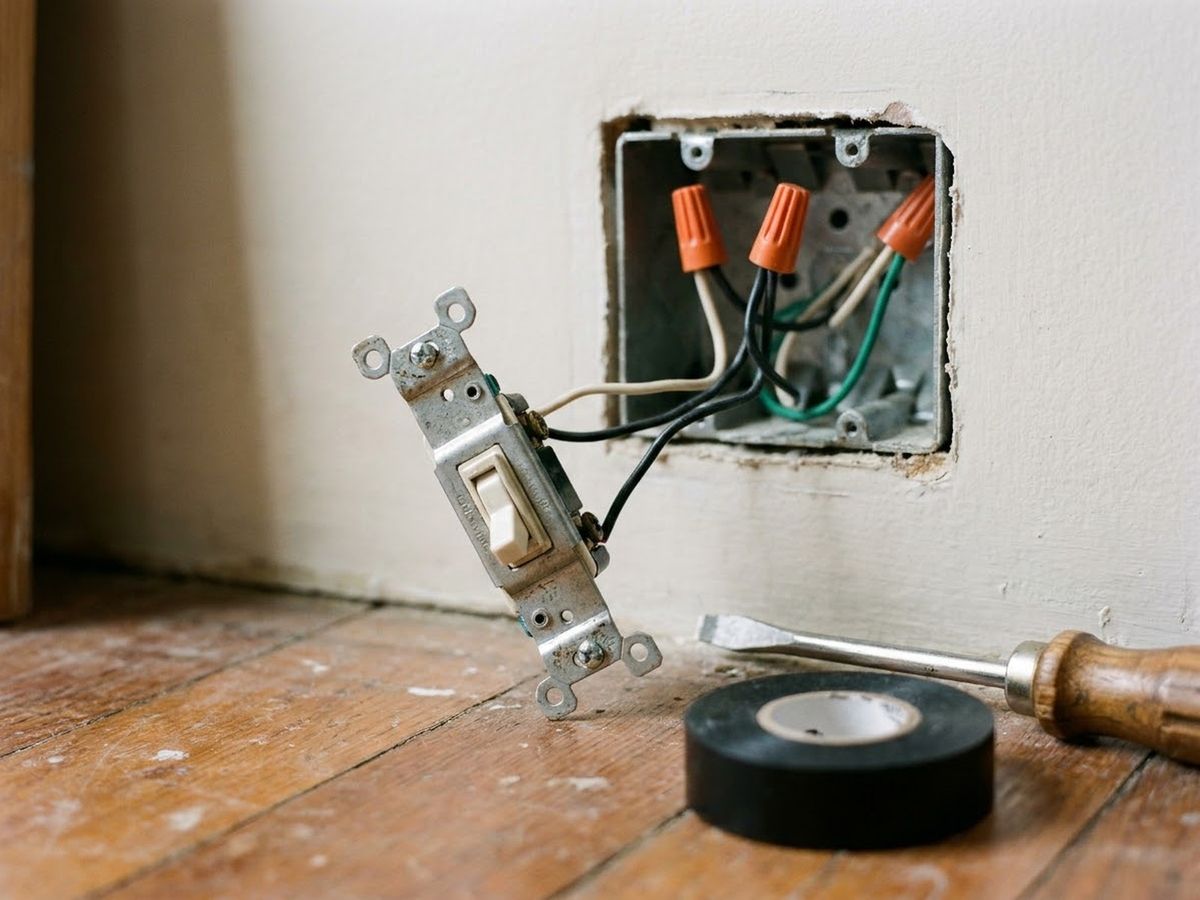
From the guide: DIY Electrical Work: What You Can (and Can't) Do Yourself
General information only, not professional advice. Electrical work can cause shock, burns and fire. If you are unsure at any step, stop and hire a licensed electrician.
This guide covers one job: replacing a standard single-pole switch with a new one, like for like. It is part of our wider guide to DIY electrical work, which explains the risk ladder, permits and where this job sits on it. Read the “when not to DIY” section before you buy anything.
Is replacing a light switch a safe DIY job?
The Electrical Safety Foundation International (ESFI) strongly recommends hiring a licensed electrician for any electrical work, and says most homeowners lack the training for it, so treat this guide as the cautious exception. Replacing a standard single-pole switch is one of the lowest-risk electrical jobs, but only when the wiring is copper and in good condition, the box has a ground, and you de-energize and test first. If any of those conditions fail, hire a licensed electrician.
A single-pole switch controls a light from one location. It is a like-for-like job because you remove a switch and put an equivalent one in its place, without changing the circuit. Adding a new switch, moving one, or converting to a dimmer or smart switch with different wiring needs is a different job. Our guide on when to call an electrician shows how those compare.
What tools and parts do you need?
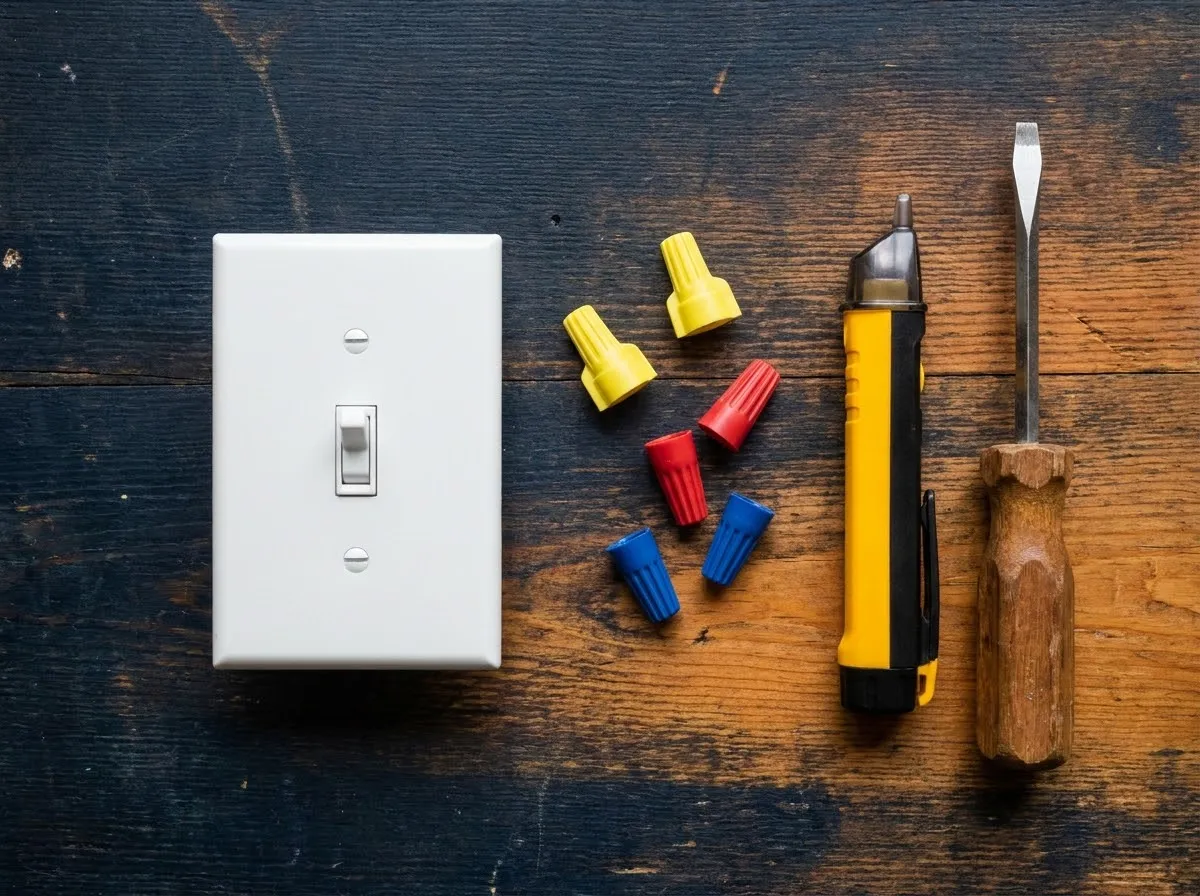
You need a replacement single-pole switch of the right rating, a non-contact voltage tester, a multimeter, insulated screwdrivers, wire strippers, needle-nose pliers and a flashlight. Most are in the starter kit described in our home repair tool kit guide.
- Switch. Match the old one: single-pole, the same amp and voltage rating (a common one is 15-amp, 120/277-volt), and a type rated for copper wire. Read the label on the old switch and the package of the new one.
- Non-contact voltage tester. A pen-style tester that signals near live wire. Use it as a first check only. Klein’s instructions say to verify it on a known working circuit before and after each use, and that a no-voltage indication does not guarantee there is none.
- Multimeter. Checks for voltage at the switch terminals. Fluke advises verifying the meter on a known voltage source before you rely on it.
- Wire stripper and pliers. Use the strip gauge on the device for the right length.
- Tape and a marker. To label wires, and to mark the panel.
- Phone camera. To photograph the wires before you disconnect them.
When should you NOT install a light switch yourself?
Do not DIY the job when you find aluminum wiring, no ground wire, a 3-way or 4-way switch, a smart switch that needs a neutral the box lacks, or scorched, brittle or damaged wires. Close the box and call a licensed electrician.
Check this list with the power off and the old switch pulled out:
Aluminum wiring
Aluminum wiring was used in some homes built from about 1965 into the mid-1970s. The Consumer Product Safety Commission (CPSC) found that aluminum-wired homes built before 1972 were 55 times more likely to have outlet connections reach fire-hazard conditions than copper-wired homes. Cable marked “Al” or “Aluminum” is aluminum. A standard switch is for copper or copper-clad wire only, as Leviton’s instructions state. CPSC recommends a qualified electrician for aluminum wiring repair, so do not connect a standard switch to it.
No ground wire in the box
A bare copper or green wire should be in the box. If there is none, do not just leave the switch ungrounded. Lutron’s guide says the National Electrical Code allows a replacement control with no ground in the box only under specific conditions, such as a nonmetallic, noncombustible faceplate with nonmetallic screws, or a circuit protected by a ground-fault circuit interrupter (GFCI). Your electrician can tell you which applies locally.
3-way or 4-way switches
If the light is controlled from two or more places, you have 3-way or 4-way switches. They have three or more terminals, and wiring them wrong can leave the light working from only one place, or not at all. Take a photo and hire a pro, or follow the manufacturer’s multi-location diagram only if you are confident.
Smart switches that need a neutral
Many smart switches need a neutral (white) wire in the box, and some switch boxes have none. Lutron’s Claro smart switch, for example, requires a neutral connection. If there is no neutral, ask an electrician or choose a model made for no-neutral boxes, and read its instructions first.
Scorched, brittle or damaged wires
Burn marks, melted plastic, cracked or crumbling insulation, or a switch that was hot are signs of a deeper problem. Do not reuse the wires or close it up. CPSC lists hot cover plates, flickering lights, circuits that do not work, and a burning-plastic smell as signs of electrical system problems, and says to have a qualified electrician determine the cause.
Other stop signs
Stop too if a tester shows voltage you cannot explain, if the box is crowded with wires, if the wall is wet, or if you cannot identify what each wire does.
How do you replace a single-pole light switch step by step?
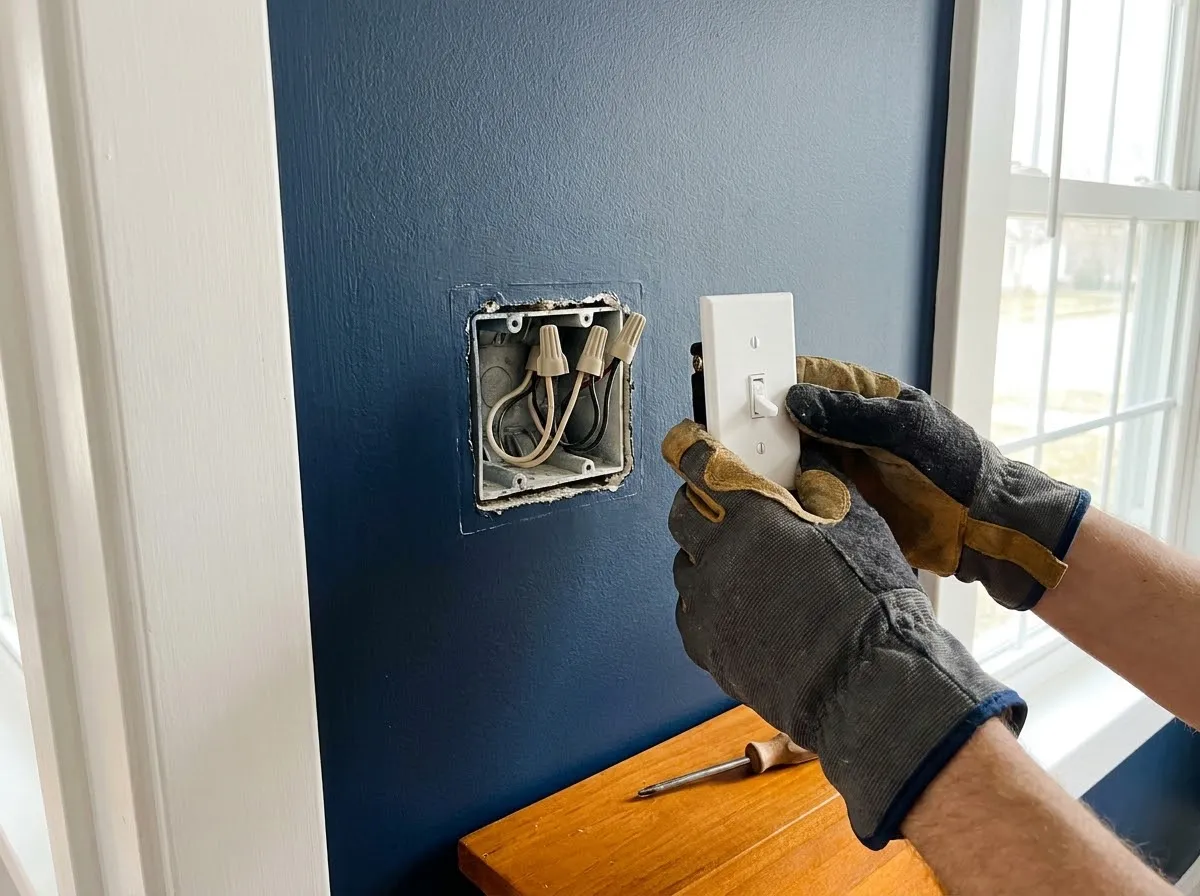
Turn off the breaker, test that the wires are dead, photograph and label the wires, connect the ground and the two switch wires to the new switch, fold the wires into the box, screw the switch in, replace the plate and restore power. Follow the instructions packed with your device.
Step 1: Turn off the power
- Switch off the breaker for the circuit. If you are not sure which one, switch off breakers until the light goes out, then still test the wires in step 2, since panel labels can be wrong.
- Put tape and a note on the panel so no one switches it back on.
- Tell everyone in the house that you are working on the circuit.
Step 2: Remove the plate and test
- Unscrew the cover plate.
- Test the wires with a non-contact tester held near them. First check the tester on a known live outlet, and check it again afterward.
- Unscrew the switch from the box and pull it out gently without touching bare wires.
- Test every wire again at the switch terminals with a multimeter set to AC voltage that you have checked on a known live source. ESFI says to test from the black wires to the grounded box and to the white wires, and from the white wires to the grounded box. A reading of zero is what you want. If you read voltage, stop, close the box and find the other circuit.
Leviton’s installation sheet says to turn off the power at the breaker or fuse and test that the power is off before wiring. Do not skip the test because the light is off.
Step 3: Check the wiring and photograph it
- Confirm the wires are copper and the insulation is sound.
- Look for a bare or green ground wire.
- Photograph the connections, and label the wires with tape if they are not obvious.
A single-pole switch usually has two wires that go to its two terminal screws, plus a ground. If you see three wires plus ground, or two switches in the box that do not match, you may have a 3-way arrangement. Stop.
Step 4: Disconnect the old switch
- Loosen the terminal screws and pull the wires off. If wires were pushed into back holes, press the release or gently pull.
- Check the ends of the copper. If they are blackened, nicked or brittle, cut back to clean copper and strip a fresh end, or stop if there is not enough wire.
Step 5: Connect the new switch
Strip the insulation to the length on the device’s strip gauge. Leviton’s standard 15-amp switch calls for about 5/8 inch for back-wiring and about 3/4 inch for side-wiring, so check the sheet for your model.
- Ground first. Connect the bare or green wire to the green ground screw.
- Side-wire method. Loop each wire clockwise (Leviton says about 3/4 turn) around the terminal screw so the loop closes as you tighten. Tighten the screw over the loop. Leviton specifies 14-18 inch-pounds.
- Back-wire method. Insert straight stripped wire under the clamp and tighten. Leviton’s quick-wire holes accept only 14 AWG solid copper wire. For 12 AWG wire, use the screw terminals.
- Pull gently on each wire to confirm it is tight.
On a single-pole switch the two terminal screws take the line and load wires. Follow the wiring diagram on your device and the photo you took. Never connect a copper-only switch to aluminum wire.
Step 6: Mount the switch and restore power
- Fold the wires neatly into the box, keeping the ground clear of the other terminals.
- Screw the switch to the box and attach the cover plate.
- Remove the tape and turn the breaker on.
- Test the switch. If the breaker trips, or you smell burning or see sparks, turn the breaker off and call an electrician.
How can you tell what’s wrong if the new switch does not work?
If the light does not work, turn the breaker off again, and check for a loose terminal, a wire in the wrong place, or a failed bulb or fixture. Test the power is off before you open the box. If the breaker trips or the switch feels warm, stop and call an electrician.
Common causes: a wire that slipped out of a terminal, a loop wrapped the wrong way, a bulb that is dead, or a switch with ON and OFF reversed.
What if you want a dimmer or a smart switch?
A dimmer or smart switch is a different device with different wiring and load limits, so follow its own instructions. Many need a neutral wire and a compatible bulb type, and some need a load rating check. Lutron’s guide, for example, lists maximum loads for LED and incandescent lamps.
If the box has the wires the product needs and you are confident, the steps are similar: breaker off, test, photograph, connect per the diagram, mount and restore power. If not, ask a pro. For broader planning, see how home electrical projects fit into your DIY limits and the DIY electrical basics hub.
Do you need a permit to replace a light switch?
ESFI says permits are generally not mandated for minor repairs such as replacing a receptacle where one already exists, but permit rules vary by state and city, so ask your local building department. Adding wiring commonly requires one, and ESFI lists adding a receptacle or light fixture where none existed among the projects that need a permit.
South Dakota, for example, requires an approved homeowner permit before any electrical work starts and limits the exemption to a home you own and live in. Washington says owners who do their own work must not cover it before inspection. Treat these as examples and check your own area.
Questions and answers
Can I replace a light switch myself?
Yes, if it is a like-for-like swap of a standard single-pole switch, the wiring is copper and in good condition, and the box has a ground. Turn off the breaker, test the wires dead, and follow the instructions with the switch. Stop and call a licensed electrician for aluminum wiring, no ground, 3-way switches, or damaged wires.
Do I need to turn off the power to change a light switch?
Yes, always. Turn off the circuit breaker, then test the wires with a non-contact voltage tester and a multimeter at the switch terminals, checking both on a known live source. Leviton's instructions say to turn off power at the breaker or fuse and test that it is off before wiring. Never rely on the wall switch being off, and never trust a panel label alone.
Which wire goes where on a single-pole switch?
On a standard single-pole switch, the two terminal screws take the line (hot) wire and the load wire that goes to the light, and the green screw takes the bare or green ground wire. Leviton's sheet shows the connections on its wiring diagram, so follow the diagram that comes with your device and photograph the old connections before you disconnect them.
How do I know if I have a single-pole or 3-way switch?
A single-pole switch has two terminals plus a ground. A 3-way switch has three terminals plus a ground, including a common terminal (a black screw on Leviton's 5603) and two traveler terminals. If your light is controlled from two places, you have 3-way switches, which are not beginner work. Check the device's label and the wiring diagram on its instruction sheet.
What if my switch box has no ground wire?
Stop and check before continuing. Do not simply leave the device ungrounded. Lutron's guide, for example, says the National Electrical Code permits a replacement control with no ground in the box only under specific conditions, such as a nonmetallic, noncombustible faceplate with nonmetallic screws or GFCI protection. An electrician can tell you which fix applies where you live.
Can I put a smart switch in any switch box?
No. Many smart switches need a neutral (white) wire in the box, and some boxes have none. Lutron's Claro smart switch, for example, lists a neutral connection as required. Open the box with the power off, look for a neutral wire, and check the product instructions before buying. If there is no neutral, ask an electrician.
Do I need a permit to replace a light switch?
ESFI says permits are generally not mandated for minor repairs, such as replacing a receptacle where one already exists, but rules vary by state and city, and adding wiring commonly needs a permit. Call your local building department before you start. Some jurisdictions, such as South Dakota and Washington, set specific conditions for owners doing their own electrical work.
What tools do I need to replace a light switch?
You need a non-contact voltage tester, a multimeter, insulated screwdrivers, wire strippers, needle-nose pliers, and a replacement switch rated for the circuit. Keep a flashlight handy, and have tape to label wires. A basic tool kit covers most of these, and the testers are the items worth buying first.
Our sources
- ESFI: DIY electrical safety (esfi.org)
- Leviton Decora 5601/5603 single-pole and 3-way switch installation sheet (leviton.com)
- U.S. CPSC Publication 516: Repairing Aluminum Wiring (cpsc.gov)
- Lutron Caseta Claro smart switch installation guide (assets.lutron.com)
- South Dakota Department of Labor and Regulation: Homeowner wiring permits (dlr.sd.gov)
- Washington L&I: Purchase electrical permits and request inspections (lni.wa.gov)
- ESFI: Do-it-yourself (DIY) electrical safety tips (esfi.org)
- ESFI: Home Electrical Safety workbook (permits, testing wires before touching) (esfi.org)
- Klein Tools NCVT-7 non-contact voltage tester instructions (data.kleintools.com)
- Fluke: Guide to digital multimeter safety (fluke.com)
Related reading
- DIY Electrical Work: What You Can (and Can't) Do Yourself
A safety-first guide to DIY electrical work: which jobs homeowners can do, which need a permit, which need a licensed electrician, and the tools.
- When to Call an Electrician: DIY Limits for Home Electrical Projects
Know when to call an electrician: a job-by-job table of what is DIY-ok, what usually needs a permit and what is pro-only, plus warning signs.