Home Repair Tool Kit: What You Actually Need and What to Skip
A home repair tool kit for a beginner is about fifteen tools: a tape measure, hammer, screwdrivers, adjustable wrench, pliers, utility knife, putty knives, level, caulk gun, plunger, cordless drill, a non-contact voltage tester, and basic safety gear. Buy those first, add specialty tools when a project needs them, and rent expensive one-time tools such as tile saws and floor sanders.
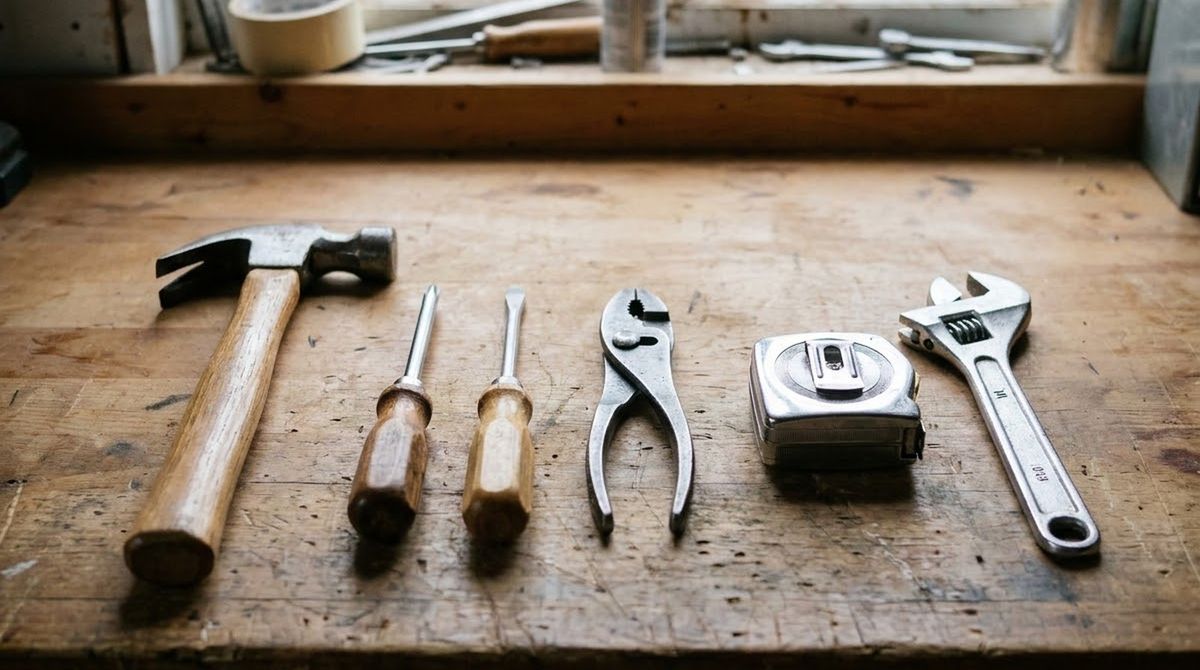
From the guide: DIY Home Repair for Beginners: What to Fix, What to Buy, When to Stop
A home repair tool kit is a small, deliberate set of tools that covers most small fixes, and you can build it in stages. This page sorts tools into what to buy now, what to add later, and what to rent, as part of our DIY home repair for beginners guide.
The rule is to buy a tool when a real job demands it, not when a store display suggests it. The kit below pairs with the fixes in our guide to basic home repairs.
What tools should be in a beginner home repair kit?
A beginner kit needs tools for measuring, driving, gripping, cutting, sealing, and drains. Buy decent versions of these first; cheap tools that strip screws or bend cost more in the end.
Measuring and marking
- Tape measure: a locking tape long enough to measure a room by yourself.
- Level: a mid-length or torpedo level for shelves, pictures, and doors.
- Pencil and a sharp marker: for marking cuts and studs.
Driving and fastening
- Cordless drill/driver with bits: the one power tool worth buying first. Get two batteries and a mixed set of drill and driver bits.
- Screwdrivers: Phillips and flathead in two or three sizes, or one multi-bit driver.
- Claw hammer: for nails and light prying.
- Adjustable wrench: for supply lines, nuts, and bolts.
Gripping and cutting
- Pliers: slip-joint for gripping and needle-nose for tight spots.
- Utility knife: with spare blades. Replace blades when they dull, because a dull blade slips.
- Putty knives: a narrow and a wide one for filling and scraping.
Sealing and plumbing
- Caulk gun: a smooth-rod gun makes steadier beads. VT Cooperative Extension notes that premium caulks last 20 years or more and cheap ones only a few years, so buy the better tube.
- Plunger: a cup plunger for sinks and a flange plunger for toilets.
- Flashlight or headlamp: for under sinks and in attics. A headlamp frees both hands.
What safety gear do you need?
Safety glasses, work gloves, a dust mask, and a non-contact voltage tester are part of the starter kit, not extras. They protect your eyes, hands, lungs, and life.
- Safety glasses: wear them when you drill, cut, scrape, or work overhead. Poison.org also advises goggles and gloves for anyone using drain cleaner.
- Work gloves: for rough materials and sharp edges.
- Dust mask: for sanding and cleanup. In a home built before 1978, avoid dry sanding painted surfaces because of lead risk, and follow the lead-paint guidance in our home repair safety overview. A basic dust mask is not the protection the EPA names: its lead-safe steps call for respiratory protection such as an N-100 disposable respirator when work creates dust, plus misting before sanding or scraping.
- Portable GFCI: the CPSC recommends portable GFCI protection when you use electric tools such as drills, saws, and sanders for DIY work, especially outdoors or near water.
Why a non-contact voltage tester belongs in the kit
A non-contact voltage tester is a pen-sized device that lights up or beeps when it is near live AC wiring. It lets you check an outlet, switch, or cable before you touch it. It is not a substitute for turning off the breaker.
Klein Tools rates its NCVT1P for 50 to 1000 V AC. Its instructions give rules worth memorizing:
- Before and after each use, test the tester on a known working circuit.
- If it shows no indication, voltage could still be present.
- It will not detect voltage in shielded wire or in DC circuits.
- It may not detect voltage if you are insulated from it by a glove, if the wire is in grounded metal conduit, or if the tester is far from the source.
- Never assume neutral or ground wires are de-energized.
For any electrical task, the safe routine is to turn off the breaker, check the tester on a live circuit, test the dead circuit, then confirm at the device. You can see this routine in action in our guide to installing a light switch. For the limits of what you should do at all, read DIY electrical basics.
Which tools do you need for which repair?
Match tools to the jobs you actually plan to do, and you avoid buying anything twice. This table maps the common repairs in our repairs guide to the tools they use.
| Repair | Tools you need | Nice to have |
|---|---|---|
| Patch a small drywall hole | Putty knife, sanding sponge, utility knife | Wide taping knife, wet/dry vacuum |
| Fix a running toilet | Adjustable wrench or hands | Flashlight |
| Clear a drain | Plunger, bucket, pliers | Hand drain auger |
| Fix a sticking or squeaky door | Screwdriver, hammer and nail | Multi-tool, plane |
| Recaulk a tub | Caulk gun, utility knife, painter’s tape | Caulk-removal tool |
| Tighten hinges and fix stripped holes | Screwdriver, wood glue | Cordless drill with driver bits |
| Hang shelves or pictures | Drill/driver, level, tape measure | Stud finder |
| Check an outlet or switch | Non-contact voltage tester | Plug-in GFCI/outlet tester |
How do you choose a cordless drill?
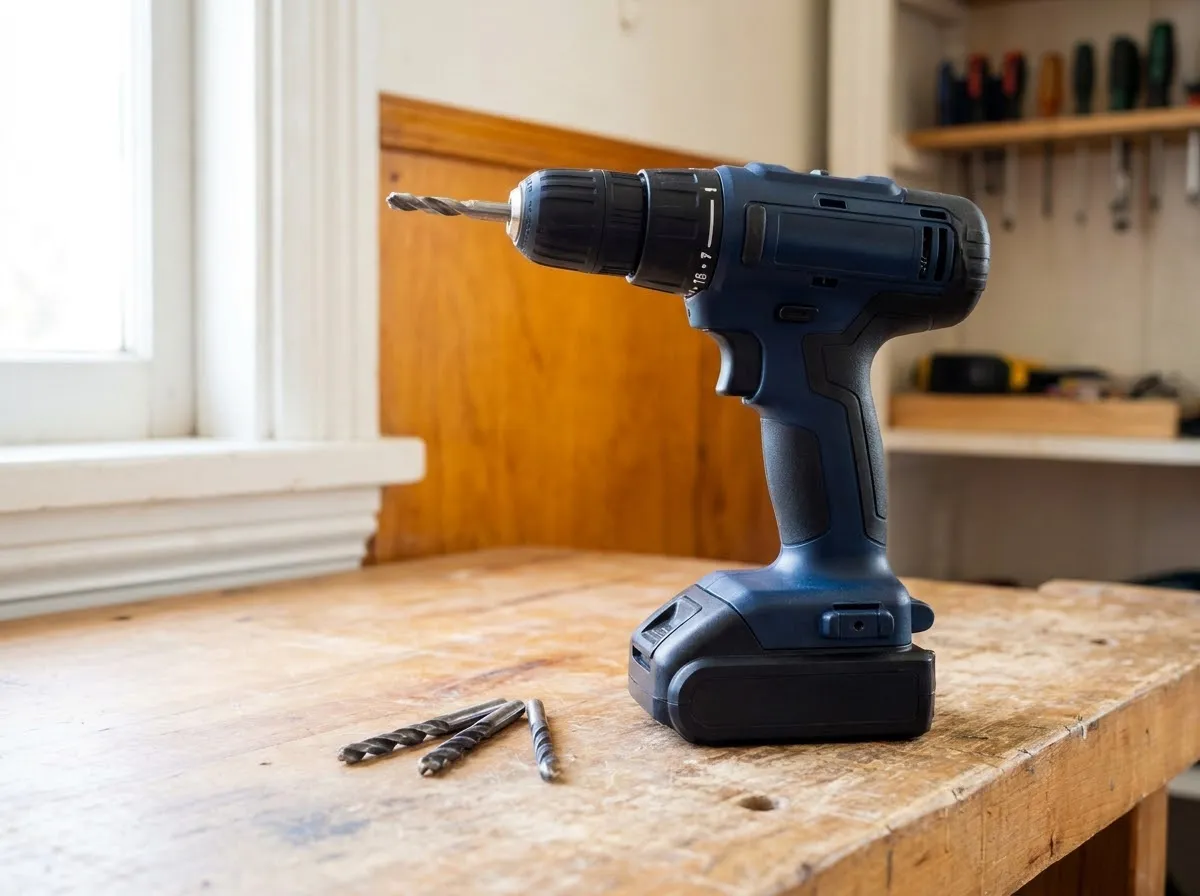
Choose a drill/driver that fits your hand, has an adjustable clutch, and comes with two batteries. The drill is the most important single purchase in the kit, so it is worth comparing a few models in a store.
- Battery platform: pick one brand and stay with it. Batteries and chargers are shared across that brand’s tools, so later purchases cost less.
- Two batteries: one charges while you work with the other.
- Clutch: the adjustable clutch stops the drill before it strips a screw or cracks drywall.
- Chuck: a keyless chuck lets you swap bits without a tool.
- Weight and balance: hold it at arm’s length for a few seconds in the store. A drill you can control is safer.
Do not chase the highest voltage or torque numbers. A mid-range drill handles every repair in this guide.
How do you use a non-contact voltage tester, step by step?
Test the tester, test the target, then test again at the device. The steps below follow Klein Tools’ instructions for its tester and apply the same careful logic to any model, but always read your own tester’s manual.
- Insert fresh batteries and turn the tester on.
- Hold it near a circuit you know is live, such as a working outlet, and confirm it lights and beeps.
- Turn off the breaker for the circuit you plan to work on.
- Move the tester to the outlet, switch, or wire. No light or beep is a good sign, not proof.
- Confirm at the device itself, using the method in the device’s instructions.
- Test the tester on the known live circuit again afterward, because Klein says to check before and after each use.
Remember the limits Klein lists. The tester will not detect voltage in shielded wire or DC circuits, and may miss it behind grounded metal conduit or at a distance. Neutral and ground wires can also be energized, so never assume they are safe.
This is a check for a few specific jobs, not permission to do any electrical work. The guide on DIY electrical basics lists what homeowners should and should not do.
How do you stay safe using a step ladder?
Use the ladder on level ground, keep three points of contact, and never stretch past its sides. NIOSH says the surface should be level, dry, and clean, that three points of contact are needed at all times when climbing or descending, and that you should inspect rungs and steps before climbing.
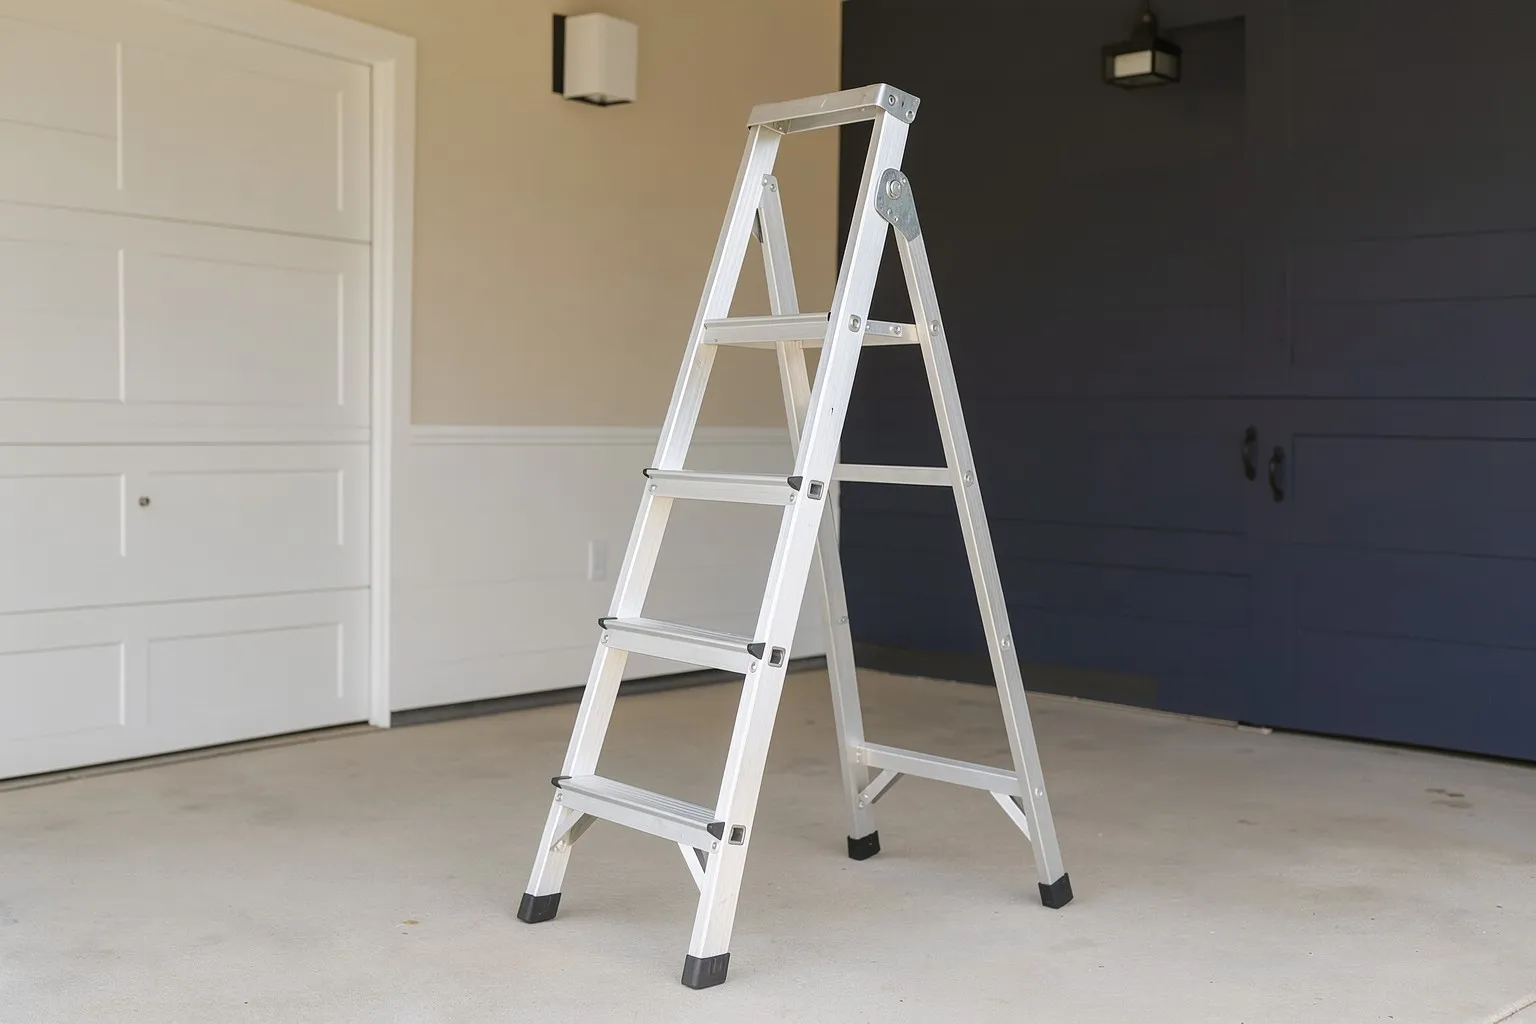
A step ladder is the first ladder to buy because it covers most indoor repairs: smoke detectors, light fixtures, painting, and high shelves. Work that needs an extension ladder or roof access is better rented or left to a professional.
Which tools should you add later?
Add tools when a repeat project needs them. Each of these solves a specific problem, so wait until you meet it.
- Hand drain auger: for clogs a plunger cannot clear. See the drain steps in our repairs guide.
- Wet/dry vacuum: for spills, drywall dust, and cleanup.
- Stud finder: for hanging heavy items. Treat it as a hint and confirm with a small test hole.
- Multi-tool (oscillating): for trimming door jambs, cutting flush, and sanding in corners.
- Pipe wrench: for threaded pipe, not for chrome fixtures.
- Wire strippers: only if you take on like-for-like electrical work covered in the electrical basics guide.
- Orbital sander and step ladder: when you start painting and refinishing regularly.
Which tools should you rent instead of buy?
Rent tools that are expensive, large, or needed once: tile saws, floor sanders, pressure washers, big drain machines, drywall lifts, and extension ladders. A rental center charges by the day, so a one-off job costs far less than owning the tool. Ask for a short demonstration, check the condition, and return it cleaned.
If you rent the same tool three times, buying it is probably cheaper. The buy-versus-hire comparison lets you enter the purchase price, resale value and rental cost to compare, and the drywall sheets guide shows when a drywall lift is worth renting.
Which tools can you skip?
Skip multi-hundred-piece mega sets, gadget tools that do one narrow job, and expensive tools for a single project. Large sets often pad the count with sockets and bits you will not use. Cheap versions of the tools you use most, such as pliers, tape measures, and drills, cost more over time because they fail or strip fasteners.
When prices are involved, be skeptical of any list that quotes exact prices without a date and source, since prices vary by brand, store, and season. Compare current prices at a store you trust before you buy.
How do you build the kit on a budget?
Buy the starter list over a few months, favor quality on the tools you will use most, and check borrowing and rental options before you buy anything big.
- Buy the drill, tape measure, and screwdrivers first.
- Add a project’s tools when you start the project.
- Put everything in one box so you can find it.
- Learn one repair at a time. Our beginner repair hub shows which repairs to try first, and our budget home improvement guide page covers how to decide where to spend.
| Stage | Tools | Why | Typical spend |
|---|---|---|---|
| Starter kit (buy now) | Tape measure, claw hammer, screwdrivers or multi-bit driver, adjustable wrench, slip-joint and needle-nose pliers, utility knife, putty knives, level, caulk gun, plunger, flashlight, cordless drill/driver with bits | Covers drywall patches, caulk, hinges, toilet and drain fixes, hanging items | Low to moderate; the drill is the biggest single purchase |
| Starter safety (buy now) | Safety glasses, work gloves, dust mask, non-contact voltage tester | Protects eyes, hands, and lungs, and checks for live wires before you touch them | Low |
| Grow later | Hand drain auger, wet/dry vacuum, stud finder, multi-tool, pipe wrench, wire strippers, orbital sander, step ladder | Each one suits a repeat job; buy it when you hit the job | Moderate, spread over time |
| Rent, do not buy | Tile saw, floor sander, pressure washer, large drain machine, drywall lift, extension ladder | Expensive, bulky, and used once or twice | Rental fee per day, from a rental center |
Buy the starter kit and the safety items now. Add a grow-later tool only when a project needs it twice, and rent anything you expect to use once.
Questions and answers
What tools do I need for basic home repairs?
You need a tape measure, claw hammer, screwdrivers, adjustable wrench, pliers, utility knife, putty knives, level, caulk gun, plunger, and a cordless drill with bits. Add safety glasses, gloves, a dust mask, and a non-contact voltage tester. This kit handles most beginner repairs, including drywall patches, caulking, hinges, toilet and drain fixes, and hanging shelves.
What is the first power tool a homeowner should buy?
A cordless drill/driver is the best first power tool, because it drills holes and drives screws, which covers most household tasks. Choose a model that fits your hand, comes with at least two batteries, and has a keyless chuck, and add a basic set of drill and driver bits. Add other power tools only when a specific project calls for one.
Is a non-contact voltage tester worth buying?
Yes. It is one of the cheapest and most important safety tools. It beeps or lights up near live wiring, which helps you check an outlet or wire before touching it. It is not foolproof, so test it on a known live circuit before and after use, and still confirm the circuit is dead at the device itself.
Should I buy a tool kit set or individual tools?
A kit is fine to start if it contains the tools in this guide and the quality feels solid, but sets often pad the count with items you will never use. Buying individual tools lets you choose better pliers, a better tape measure, and a better drill. A good compromise is a small set for basics and individual purchases for the tools you use most.
Which tools should I rent instead of buy?
Rent tools that are expensive, bulky, or used once or twice: tile saws, floor sanders, pressure washers, large drain machines, drywall lifts, and extension ladders. Check the day rate at a local rental center, ask for a quick demonstration, and return it cleaned. If you find yourself renting the same tool repeatedly, that is the signal to buy.
How should I store my home repair tools?
Keep them dry, together, and easy to reach. A tool bag or box with a lid works for a starter kit, and a pegboard or shelf works for a garage. Store batteries and chargers indoors away from extreme heat or cold, wipe tools dry after use, and put the voltage tester and flashlight where you can find them when the power is off.
Our sources
- Klein Tools NCVT1P Non-Contact Voltage Tester instructions (data.kleintools.com)
- U.S. CPSC: GFCI Fact Sheet (Pub. 099) (cpsc.gov)
- Virginia Tech Cooperative Extension: What about Caulking and Weather-Stripping? (pubs.ext.vt.edu)
- Poison.org: What's in drain cleaner and what happens if you drink it? (poison.org)
- EPA WaterSense: Residential Toilets (epa.gov)
- EPA: Steps to Lead-Safe Renovation, Repair and Painting (epa.gov)
- NIOSH: Ladder Safety in the Wholesale and Retail Trade Sector (cdc.gov)
Related reading
- DIY Home Repair for Beginners: What to Fix, What to Buy, When to Stop
A beginner's guide to DIY home repair: the fixes worth learning, the starter tools, and the safety limits that tell you when to call a licensed pro.
- How Many Sheets of Drywall Do I Need? Walls, Ceilings, Mud and Tape
Work out how many drywall sheets, how much joint compound and tape a room needs, with the area formula, waste allowance and a worked 12 x 12 ft example.
- Basic Home Repairs Every Homeowner Can Do Themselves
Eleven basic home repairs you can do yourself: drywall patch, running toilet, clogged drain, sticking door, recaulking, loose hinges, and a GFCI reset.