DIY home improvement on a budget means stretching every dollar to upgrade your space without overspending. With smart planning, you can handle cosmetic updates and functional repairs using affordable materials and your own effort. Whether you want to refresh one room or improve your home’s overall look, these strategies help you get professional-quality results without a big expense. From reusing materials to basic repairs, this guide covers the most effective ways to improve your home while keeping costs low.
At a Glance: The Best DIY Projects for Your Money
Not all home improvement projects give the same return. When funds are limited, focus on upgrades that improve both livability and resale value. Here are some of the most effective budget DIY projects:
- Interior: Fresh paint, cabinet refacing, and new hardware can modernize a kitchen or bathroom for under $200.
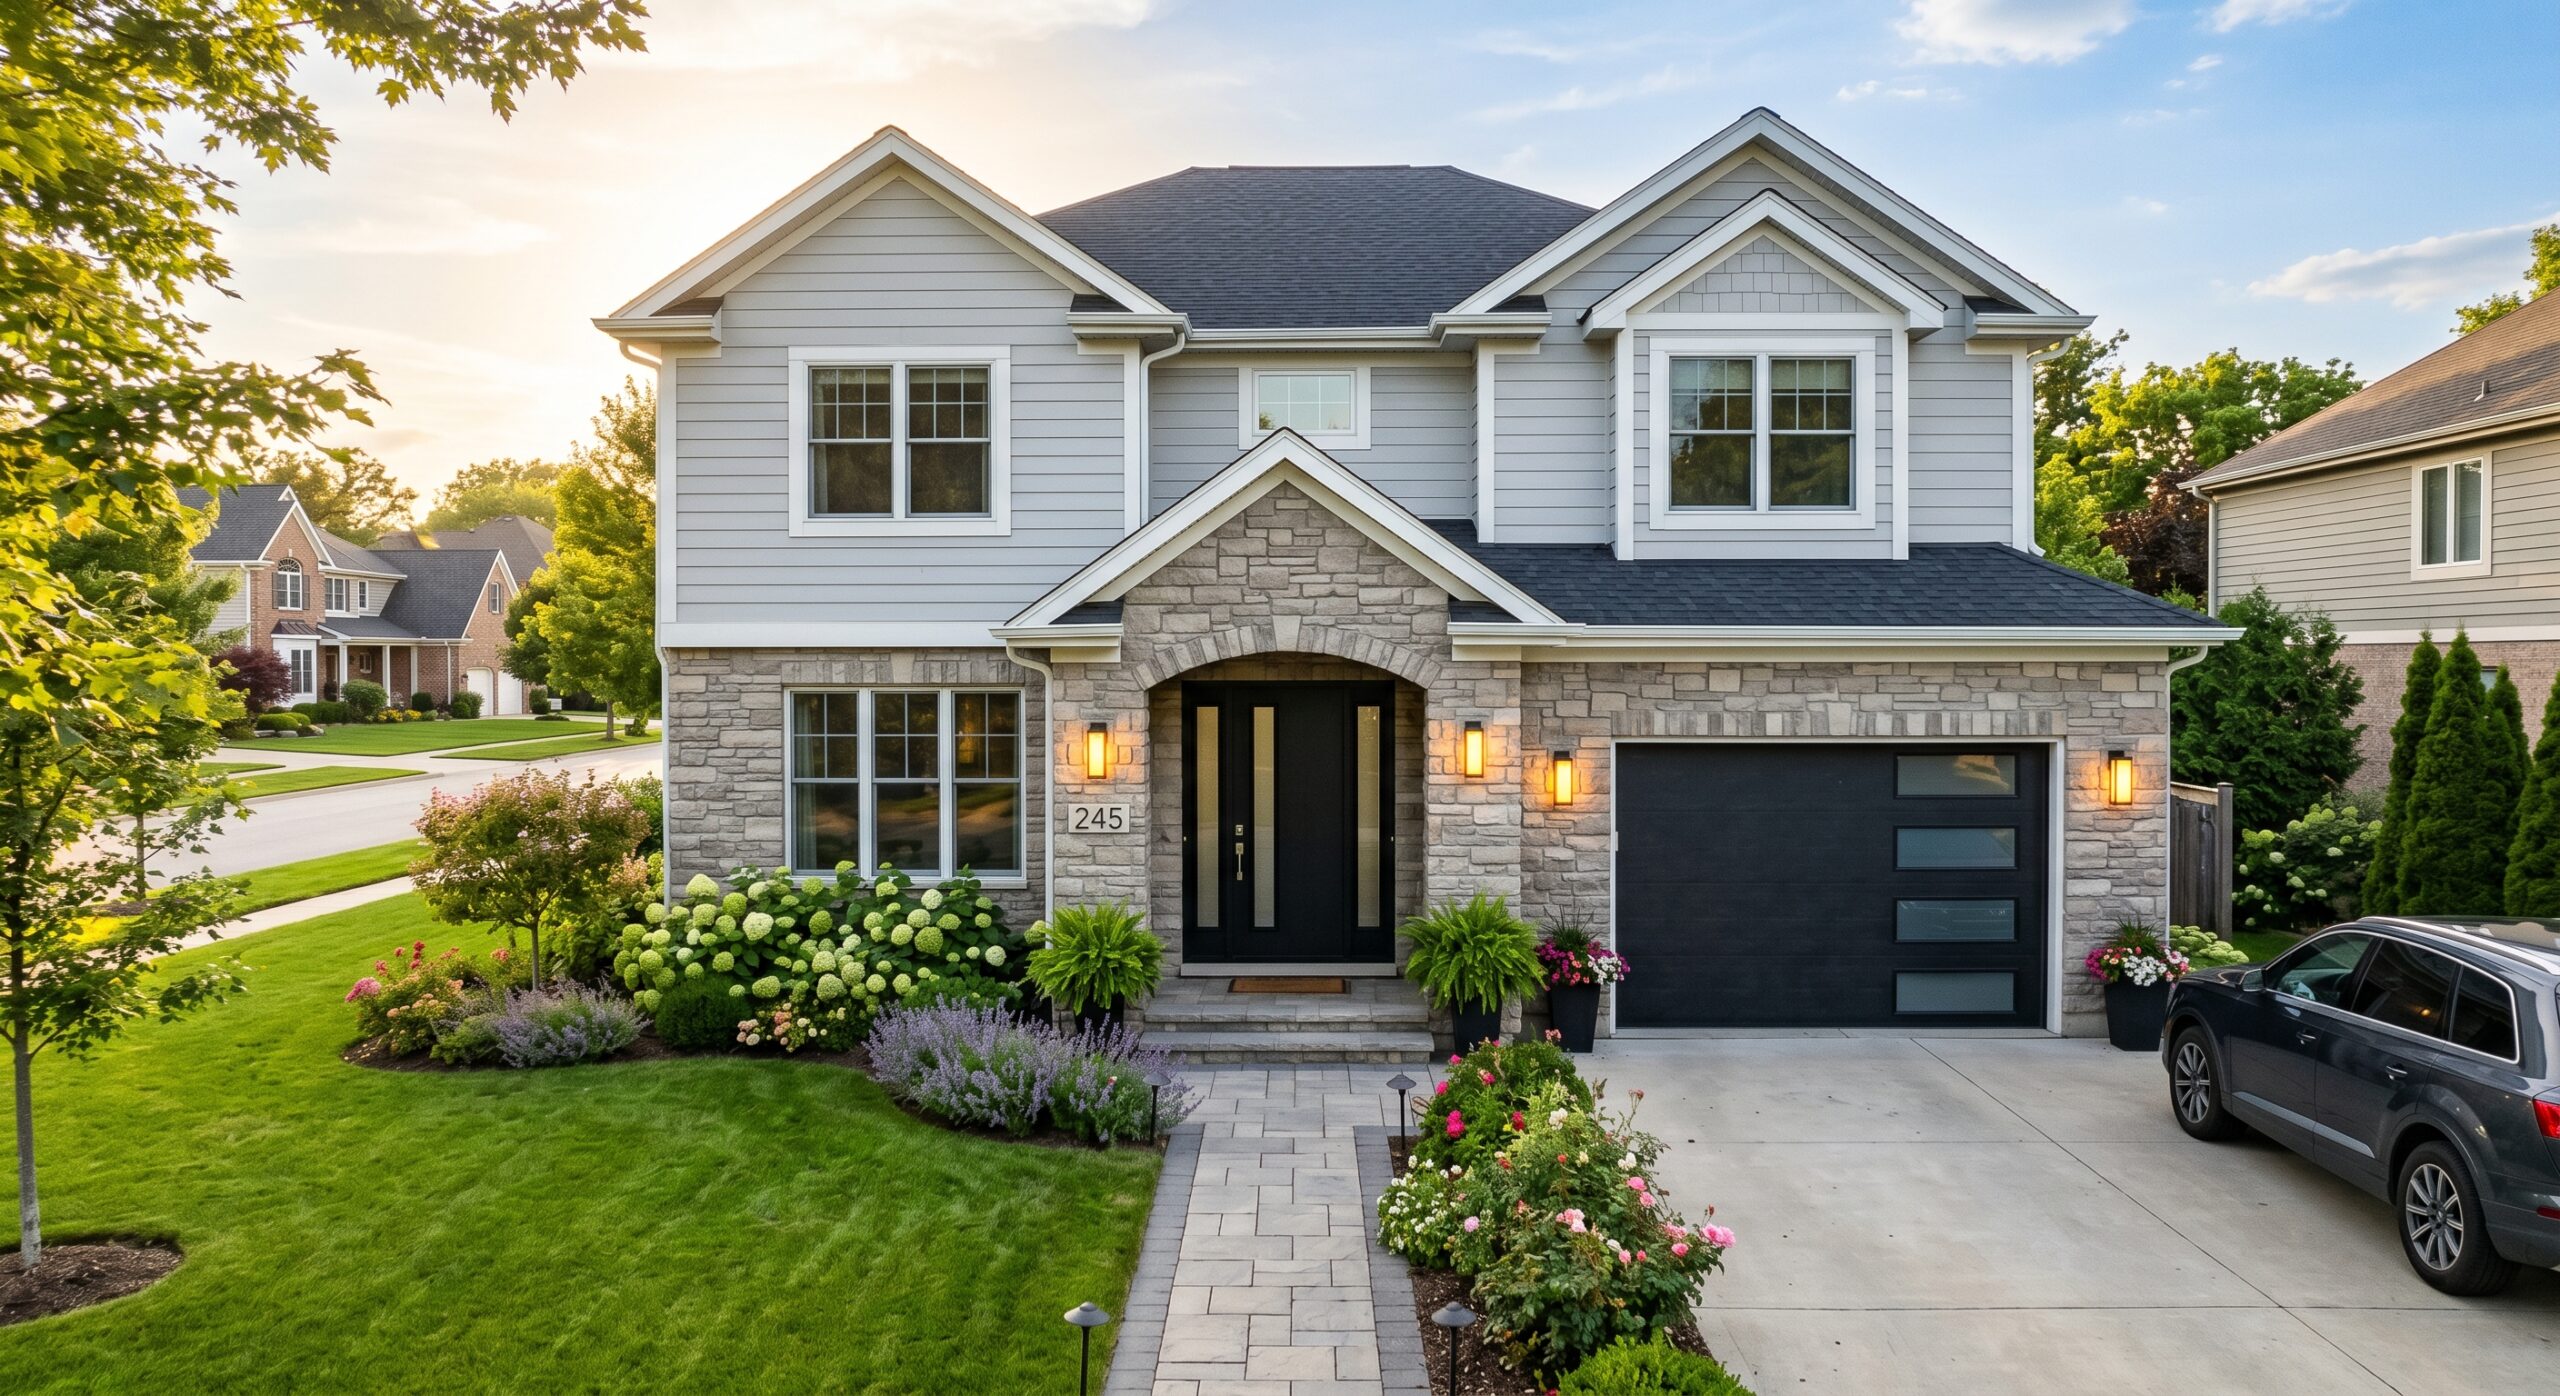
- Exterior: A well-maintained lawn, smart landscaping, and a fresh coat of paint on the front door can dramatically boost curb appeal.
- Functional: Insulating attics, sealing windows, and fixing minor drywall cracks improve energy efficiency and prevent costly damage.
For more high-return projects, see The 3 Highest Return DIY Home Projects That Pay Off.
Why DIY Works for Budget-Conscious Homeowners
According to a 2025 report by HUD, the average homeowner spends over $12,000 on professional renovations. Yet many projects, like painting or minor repairs, can cost a fraction of that when done yourself. The key is choosing projects that balance cost savings with impact.
For example, replacing a bathroom vanity might cost $1,500 professionally, but you can find a ready-to-assemble unit at a home center for $300 and install it yourself in a weekend. The savings? Over 80%. The same applies to flooring, backsplashes, and some electrical and plumbing fixes—if you’re willing to learn the basics.
Labor Costs Are the Biggest Expense—Cut Them Out
According to NAHB, labor typically makes up 20–50% of a home improvement project’s cost. Doing the work yourself removes this markup entirely. Even if you need to buy or rent tools, the long-term savings usually outweigh the upfront cost. A basic caulking gun costs less than $10, but hiring a handyman for the same job could run $50–$100.
DIY isn’t always faster or easier—especially for electrical or major plumbing work—but for cosmetic and minor structural projects, it’s a smart choice. The key is knowing your limits and calling a pro when needed for safety or code compliance.
How to Plan a Budget-Friendly DIY Project
Planning is essential when working with a tight budget. Start by assessing your home’s needs and prioritizing projects based on urgency, cost, and impact. Here’s a step-by-step approach to keep your DIY renovations on track:
Step 1: Define Your Goals and Budget
Ask yourself: Are you renovating for comfort, resale value, or just a fresh look? Your goal will guide where to focus. If you’re preparing to sell, prioritize curb appeal and simple kitchen or bathroom updates. If you’re staying long-term, focus on projects that improve daily life, like storage or energy efficiency.
Set a realistic budget by researching material costs and making a list of what you’ll need. Tools like the Remodeling 2025 Cost vs. Value Report can help estimate ROI for different projects. Add a 10–15% buffer for unexpected expenses, such as discovering dry rot behind a wall or needing extra paint.
Step 2: Research and Gather Supplies
Shop sales, clearance sections, and discount stores like Habitat for Humanity’s ReStore or local salvage yards for gently used materials. You can often find high-quality cabinets, doors, or lighting fixtures for a fraction of the price. Always measure your space and the items you’re buying to avoid mistakes.
Tip: Buy paint in sample sizes first to test colors in your space before committing to a gallon. A $5 test pot can prevent repainting an entire room.
Step 3: Learn the Basics (and Know When to Call a Pro)
Before starting a project, take time to learn the necessary skills. Watch YouTube tutorials, read manufacturer instructions, and consult free resources like This Old House or Family Handyman. For tasks involving electricity, plumbing, or structural changes, hire a licensed professional unless you’re fully confident in your abilities.
Safety first: Always turn off the power at the breaker box before working on electrical systems, and wear protective gear like gloves and goggles. For a refresher on electrical safety, see our guide on Electrical Safety Guidelines.
Step 4: Break the Project into Manageable Phases
Large projects like kitchen remodels or room additions can feel overwhelming. Divide them into smaller tasks. For example, a kitchen refresh might include:
- Painting walls and cabinets
- Replacing cabinet hardware
- Installing a new backsplash
- Updating lighting fixtures
Tackle one task per weekend to avoid burnout and spread out costs over time.
Top 10 Budget DIY Projects That Make a Difference
Not sure where to start? These 10 projects offer the best balance of affordability, ease, and visible results. Pick one or two to begin, then build from there.
1. Fresh Paint (Interior and Exterior)
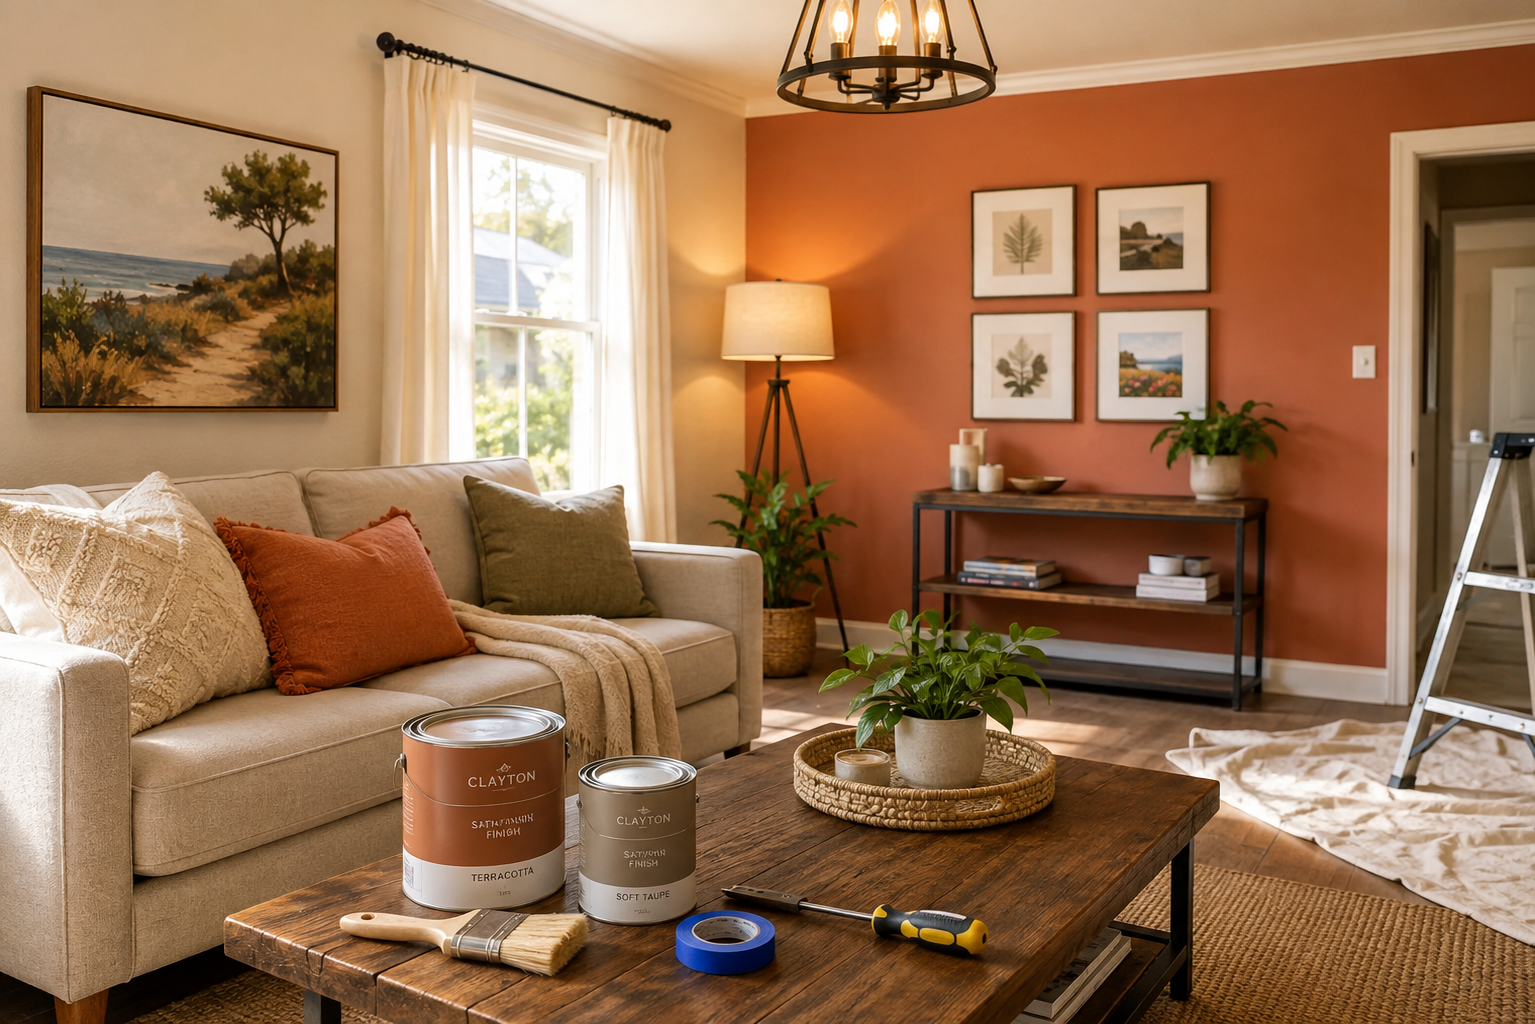
Painting is the fastest and cheapest way to refresh a room or improve curb appeal. A gallon of high-quality paint costs $30–$60 and covers about 400 square feet. For a 12×12 room, you’ll need about 2 gallons, totaling $60–$120. Compare that to hiring a painter, which can cost $300–$800 for the same space.
Tips for better results:
- Use painter’s tape for clean edges around trim and ceilings.
- Paint ceilings first, then walls, then trim for a professional finish.
- Stir paint thoroughly but avoid overmixing to prevent bubbles.
For exterior projects, choose a satin or semi-gloss finish for durability. Pressure-wash surfaces first to ensure the paint adheres properly.
2. Cabinet Refacing or Repainting
Kitchens and bathrooms are expensive to remodel, but updating cabinets can make a big difference without a big price tag. Repainting existing cabinets costs $100–$300 and takes a weekend. Refacing—replacing doors and drawer fronts while keeping the existing boxes—costs $1,000–$3,000, far less than a full replacement ($3,000–$10,000).
To repaint cabinets:
- Remove all hardware and doors.
- Clean surfaces with a degreaser like TSP (trisodium phosphate).
- Sand lightly to create a smooth surface.
- Apply a bonding primer like Kilz or Zinsser.
- Paint with a high-quality brush or roller, using a satin or semi-gloss finish.
For a modern look, swap out old knobs and pulls for new hardware, which costs as little as $2–$10 each at home centers.
3. Peel-and-Stick Backsplash
A kitchen or bathroom backsplash updates a space and protects walls from splashes. Traditional tile installation can cost $1,500–$3,000, but peel-and-stick options from brands like Schluter or Peel & Stick Backsplash cost $100–$300 and install in under a day. These products are waterproof, durable, and easy to remove for renters.
To install:
- Clean the wall thoroughly and mark a level line at the top of your backsplash area.
- Measure and cut tiles as needed, leaving room for outlets and switches.
- Peel the backing and press the tile firmly onto the wall, smoothing out bubbles.
- Use a utility knife to trim around edges and outlets.
4. DIY Kitchen Countertop Resurfacing
Replacing a laminate countertop costs $500–$1,500, but resurfacing with products like Revive Countertops or Liquid Countertop Refinishers runs $100–$300 and takes just a few hours. These kits include a bonding primer, color coat, and protective topcoat to create a smooth, durable finish that looks like granite or quartz.
Steps to resurface a countertop:
- Clean and sand the existing surface.
- Apply a bonding primer.
- Paint on the base color, then add veins or patterns for a stone-like effect.
- Seal with a clear topcoat for durability.
This technique works best on laminate or solid surface countertops—avoid using it on wood or tile.
5. Update Lighting Fixtures
Swapping out old light fixtures is one of the easiest ways to modernize a room. A basic flush-mount ceiling light costs $20–$50, and installation typically takes less than an hour. For a more dramatic effect, consider semi-flush mounts, pendants, or even DIY chandeliers made from thrifted materials.
Safety note: Always turn off the power at the breaker box before working on electrical systems. If you’re unsure about wiring, hire an electrician—safety isn’t worth the risk. For beginners, our guide on How to Install a Light Switch covers the basics.
6. Refresh Flooring with Vinyl Plank or Paint
Hardwood floors are expensive to refinish ($1,500–$4,000), but luxury vinyl plank (LVP) flooring costs $2–$5 per square foot and installs as a floating floor with no glue or nails required. Brands like Lumber Liquidators or Lowe’s often have sales on LVP, bringing the total cost for a 10×12 room to under $300.
For a temporary fix, consider painting existing hardwood or laminate floors with a durable porch-and-floor paint. This costs $30–$50 per gallon and can last several years with proper care.
7. Boost Curb Appeal with Landscaping and Paint
First impressions matter, and a well-maintained exterior can increase your home’s value by up to 7%, according to NARI. Simple upgrades like trimming bushes, adding mulch, and painting the front door can transform your home’s exterior for under $200.
For more ideas, explore our guide on 15 Cheap Curb Appeal Ideas.
8. Install a DIY Kitchen or Bathroom Faucet
A new faucet costs $50–$150 and can be installed in under an hour with basic tools. This small upgrade makes a big difference in the look and function of a sink. Brands like Moen and Delta offer budget-friendly options with lifetime warranties.
Steps to install a faucet:
- Turn off the water supply under the sink.
- Disconnect the old faucet and clean the area.
- Install the new faucet according to the manufacturer’s instructions.
- Reconnect the water supply and test for leaks.
9. Add Built-In Storage with Painted Shelving
Custom shelving can cost hundreds of dollars, but you can create the same look with pre-cut pine boards from a home center. Paint them to match your walls, then install them with basic brackets. This project costs $50–$100 and adds functional storage to any room.
For kitchens, consider open shelving instead of upper cabinets to create a more spacious feel. This works best in small spaces or for displaying dishware.
10. Seal Windows and Doors for Energy Savings
Drafty windows and doors can add $200–$500 to your annual energy bills, according to U.S. Department of Energy. Sealing gaps with caulk or weatherstripping costs less than $20 and takes less than an hour. For larger gaps, use expanding foam sealant ($5–$10 per can).
To find drafts, hold a lit incense stick near windows and doors—if the smoke wavers, you’ve found a leak. Seal it immediately to start saving on heating and cooling costs.
Budget DIY Hacks: Work Smarter, Not Harder
These tips help you save time, money, and frustration on your next DIY project.
Repurpose and Upcycle Materials
Before buying new materials, check thrift stores, garage sales, and online marketplaces like Facebook Marketplace or Craigslist for gently used items. Old doors can become headboards, pallets can be turned into outdoor furniture, and salvaged wood can be refinished for shelving or accent walls. Upcycling saves money and adds unique character to your home.
For example, a EPA study found that repurposing wood reduces landfill waste by 20% and cuts material costs by up to 50%. That’s a win for your wallet and the planet.
Use Multi-Functional Products
Look for products that serve more than one purpose to stretch your budget. For instance, a Sherwin-Williams paint can work as both primer and topcoat, saving you the cost of a separate primer. Peel-and-stick tiles can also be used on floors, walls, or even furniture for a quick refresh.
Another example: DuPont’s Corian solid surface material can be used for countertops, sink surrounds, and even backsplashes, eliminating the need for multiple materials.
Learn Basic Plumbing and Electrical Repairs
While major plumbing and electrical work should be left to professionals, many minor repairs are DIY-friendly. For example:
- Leaky faucets: Fix with a $5 washer kit from any hardware store.
- Running toilets: Replace the flapper for under $10.
- Loose outlets: Tighten the screws or replace the outlet for $3–$5.
- Tripped breakers: Reset the breaker and identify the cause of the overload.
For a full guide on essential repairs, see our article on Essential DIY Home Repair Tips.
Buy Tools Strategically
You don’t need a garage full of expensive tools to tackle most DIY projects. Start with the basics:
- Essential tools: Hammer, screwdrivers, wrench set, tape measure, level, utility knife, and a drill.
- Nice-to-have tools: Oscillating multi-tool, orbital sander, and a paint sprayer (for large projects).
- Skip these: Nail guns, tile saws, and power planers—rent them as needed.
For a complete toolkit guide, see our article on The Essential Tool Kit for Home Repairs.
Common Mistakes to Avoid
Even the best plans can go wrong if you’re not careful. Watch out for these pitfalls to keep your projects on track and under budget.
Skipping the Planning Phase
Impulse projects often lead to costly mistakes. Always measure twice, cut once, and plan your steps before starting. For example, buying paint without testing the color in your space can result in an expensive redo. Similarly, skipping a demo plan for a kitchen remodel might leave you with unusable cabinets or outlets.
Create a simple project checklist and timeline to stay organized. Include deadlines for each phase, like “Day 1: Demolition,” “Day 2: Painting,” etc.
Ignoring Building Codes and Permits
While minor cosmetic projects don’t require permits, structural, electrical, or plumbing changes often do. Ignoring codes can lead to fines, failed inspections, or even safety hazards. Always check with your local building department before starting a project.
For example, adding a new electrical outlet typically requires a permit and inspection in most jurisdictions. Hiring an electrician ensures the work is done to code, even if it costs more upfront.
Cutting Corners on Materials
Cheap materials might save you money today, but they can lead to costly repairs down the road. For instance, using low-grade paint in a bathroom can result in peeling and mold growth. Similarly, cheap flooring can dent or scratch easily, requiring early replacement.
Invest in mid-range materials for high-impact areas and save on less critical surfaces. For example, use durable laminate flooring in a high-traffic hallway but opt for vinyl plank in a guest bathroom.
Overestimating Your Skills
It’s easy to watch a 10-minute YouTube tutorial and assume you can tackle a project. But some tasks—like tiling a shower or rewiring a ceiling fan—require experience and precision. If you’re unsure, start with smaller projects to build confidence or hire a pro for the tricky parts.
For example, tiling a bathroom floor might seem simple, but mistakes in layout or grout application can lead to a lopsided or uneven finish. Practice on a small section first, or consider hiring a tile setter for large areas.
Not Accounting for Waste
Materials like flooring, tile, and trim always require extra for cuts and mistakes. A good rule of thumb is to buy 10–15% more than your calculated needs. For example, if you need 200 square feet of flooring, buy 220–230 square feet to account for waste.
This is especially important for patterned materials like wallpaper or tile, where matching seams adds complexity. Always check the manufacturer’s recommendations for waste allowances.
Tools and Resources to Make DIY Projects Easier
Having the right tools and resources on hand can turn a frustrating project into a smooth experience. Here’s a curated list of essentials and helpful resources to keep in your DIY toolkit.
Must-Have Tools for Budget DIYers
| Tool | Purpose | Budget-Friendly Options |
|---|---|---|
| Drill/Driver | Drilling holes and driving screws | DeWalt DCD771 ($99) |
| Orbital Sander | Smoothing surfaces before painting | Makita BO5041 ($89) |
| Utility Knife | Cutting materials like drywall, flooring, and caulk | Irwin Tools ($5) |
| Tape Measure | Measuring spaces and materials | Stanley 33-425 ($12) |
| Level | Ensuring surfaces are straight and even | Level Developments ($15) |
For a full list of tools to skip and invest in, see our guide on The Essential Tool Kit for Home Repairs.
Free and Low-Cost Resources for DIYers
You don’t need to buy expensive books or courses to learn DIY skills. These free and low-cost resources will help you master the basics:
- YouTube: Channels like This Old House, Family Handyman, and Lowe’s offer step-by-step tutorials for every project imaginable.
- Library: Many local libraries offer free access to Hoopla or LinkedIn Learning, where you can watch DIY courses for free with a library card.
- Apps:Houzz and Roomstyler offer free design tools and inspiration. Home Depot’s app includes a project calculator to estimate materials.
- Community: Local hardware stores like Home Depot or Lowe’s often host free DIY workshops on weekends. Check their event calendars for classes near you.
How to Stretch Your Budget Further: Pro Tips
These strategies from experienced DIYers will help you maximize your budget and avoid common pitfalls.
Shop Secondhand for Fixtures and Materials
Habitat for Humanity’s ReStores, thrift stores, and online marketplaces are goldmines for affordable home improvement materials. You can find everything from doors and windows to lighting fixtures and appliances at a fraction of the retail price. For example, a Habitat ReStore in Portland, Oregon, sold a solid wood door for $20—compared to $150–$300 new.
Tip: Visit ReStores early in the month when donations are fresh and selection is best. Bring cash and be prepared to haggle—many stores allow price reductions for damaged or floor models.
Time Your Purchases for Maximum Savings
Home improvement stores run sales and clearance events throughout the year. Plan your projects around these deals to save hundreds of dollars:
- January–February: Post-holiday clearance on holiday decor and winter gear (great for storage solutions).
- March–April: Spring cleaning sales on vacuums, organizers, and cleaning supplies.
- September–October: Fall sales on outdoor furniture, grills, and power tools.
- Black Friday/Cyber Monday: Deep discounts on major appliances, flooring, and tools.
Sign up for store newsletters to stay informed about sales and promotions. Many stores also offer price matching—so if you find a lower price elsewhere, they’ll match it.
Use Coupons and Rebates Wisely
Coupons from Coupons.com or store apps can save you 10–30% on materials. Combine coupons with sales for even bigger discounts. For example, a $200 purchase with a 20% coupon and a 10% sale could drop the price to $144.
Don’t forget about manufacturer rebates, which can save $25–$100 on appliances, tools, or flooring. Check the product packaging or the manufacturer’s website for rebate offers.
Barter or Trade Skills with Friends
If you have a friend who’s great at plumbing or electrical work, offer to help them with a project in exchange for their expertise. Bartering is a great way to save money while strengthening community ties. For example, if you’re handy with a paintbrush but struggle with tiling, trade services with a friend who excels at tile work.
Websites like TimeBanks connect people in your community for skill swaps, making it easy to find help for specific projects.
Budget DIY for Renters: What You Can (and Can’t) Do
Renters often feel limited by landlord rules, but there are many temporary and reversible upgrades that transform a space without breaking the lease. Here’s how to improve your home while keeping your deposit intact.
Temporary Upgrades That Don’t Void Your Lease
Focus on changes that can be easily reversed when you move out. These projects add value without permanently altering the space:
- Peel-and-stick wallpaper: Adds pattern and color to walls without damaging surfaces. Brands like Tempaper offer easy-peel options.
- Renter-friendly shelving: Use freestanding or adhesive shelves instead of drilling into walls.
- Removable backsplash: Peel-and-stick tiles or a fabric backsplash can add style to a kitchen or bathroom.
- Area rugs and curtains: Instantly update a room’s color scheme and add warmth.
Always check your lease agreement for rules on modifications and get written permission from your landlord before making any changes.
DIY Projects That Landlords Love (and May Even Help)
Some landlords appreciate when tenants take initiative to maintain or improve the property. If you’re on good terms with your landlord, propose these projects:
- Caulking and sealing: Prevents drafts and reduces energy costs.
- Painting: Fresh paint makes a unit more appealing to future tenants.
- Minor repairs: Fixing leaky faucets or patching small holes in walls keeps the property in good condition.
Document all changes with photos before and after, and keep receipts for materials in case your landlord asks for reimbursement.
Real-Life Budget DIY Success Stories
Sometimes the best inspiration comes from seeing what others have done on a budget. Here are a few examples of homeowners who transformed their spaces without overspending.
Case Study 1: The $300 Kitchen Refresh
Project: A homeowner in Ohio wanted to update their 1980s kitchen without spending much.
Materials and Costs:
- Paint and primer: $80
- Cabinet hardware: $40
- New countertop resurfacing kit: $150
- Peel-and-stick backsplash: $50
- Under-cabinet LED lighting: $30
Total Cost: $350
Result: The kitchen went from dated and dark to bright and modern. The homeowner added open shelving for dishes and swapped out old fixtures, creating a space that felt brand new. The project took two weekends to complete.
Case Study 2: The $200 Bathroom Makeover
Project: A renter in California wanted to update their bathroom without damaging walls or spending much.
Materials and Costs:
- Peel-and-stick wallpaper for accent wall: $30
- New shower curtain and liner: $25
- Paint for vanity: $20
- New faucet: $60
- Storage baskets and organizers: $40
- LED vanity light bulb: $15
Total Cost: $190
Result: The bathroom felt spa-like and modern. The renter used removable wallpaper for an accent wall and swapped out the faucet and light bulb for a brighter look. The project took one weekend to complete.
Case Study 3: The $500 Curb Appeal Boost
Project: A homeowner in Texas wanted to improve their home’s exterior to attract buyers on a budget.
Materials and Costs:
- Front door paint: $30
- New house numbers: $20
- Landscaping (mulch, shrubs, and flowers): $200
- Pressure washing driveway and walkway: $50
- DIY mailbox makeover: $25
- Fresh paint on shutters: $50
Total Cost: $375
Result: The home’s curb appeal improved dramatically. The realtor estimated that the upgrades added $5,000 to the home’s value, a 13x return on investment. The project took one weekend to complete.
These stories show that budget DIY home improvement isn’t just possible—it’s powerful. With creativity, planning, and a willingness to learn, you can transform your home without draining your savings.
Frequently Asked Questions
What’s the easiest DIY project for beginners?
Painting is the easiest DIY project to start with. It requires minimal tools—a roller, brush, paint tray, and painter’s tape—and the learning curve is low. Begin with a small room or accent wall to build confidence. For a step-by-step guide, see our article on Budget-Friendly Bathroom Upgrades You Can DIY in a Single Day.
How much can I save by doing DIY?
You can save 30–80% on labor costs by doing projects yourself. For example, a professional painter charges $300–$800 to paint a room, but you can do it yourself for $60–$120 in materials. Even complex projects like kitchen remodels can see savings of $1,000–$3,000 by eliminating labor costs. The key is choosing projects within your skill level and planning carefully.
What tools do I absolutely need to start DIYing?
Start with a basic toolkit that includes a drill, screwdrivers, wrench set, tape measure, level, utility knife, and a hammer. These tools will cover most beginner DIY projects. For a full list of essential tools and what to skip, see our guide on The Essential Tool Kit for Home Repairs.
Are there any home improvement projects I should never DIY?
Yes. Avoid DIY projects that involve:
- Structural changes: Removing load-bearing walls or altering the home’s structure requires a permit and a professional.
- Major electrical work: Rewiring a home or installing new circuits should be done by a licensed electrician for safety reasons.
- Plumbing: Major plumbing work, like moving pipes or installing a new sewer line, requires permits and professional expertise.
- Gas lines: Any work involving gas lines is extremely dangerous and should always be handled by a licensed professional.
When in doubt, consult a professional or your local building department to ensure the project is safe and up to code.
How do I know if a DIY project is worth it?
A DIY project is worth it if:
- It improves your daily life (e.g., better storage, easier cleaning).
- It increases your home’s resale value (e.g., fresh paint, updated kitchen).
- It’s within your skill level and budget.
- You’ll save at least 30% compared to hiring a pro.
Always research the project thoroughly and compare quotes from professionals before committing to DIY. For high-impact projects, see our guide on The 3 Highest Return DIY Home Projects That Pay Off.
What’s the best way to learn DIY skills?
The best way to learn DIY skills is through a combination of:
- Hands-on practice: Start with small projects like painting or shelving to build confidence.
- Free online tutorials: Channels like This Old House and Family Handyman offer step-by-step guides.
- Books and magazines: Check out titles like Black & Decker The Complete Photo Guide to Home Repair from your local library.
- Workshops: Many hardware stores offer free or low-cost DIY workshops on weekends.
How can I make my DIY project look professional?
To make your DIY project look professional:
- Invest in quality materials—cheap paint or flooring will show.
- Take your time with prep work, like sanding and priming.
- Use the right tools for the job (e.g., a high-quality brush for paint).
- Follow manufacturer instructions carefully.
- Add finishing touches like caulking, trim, or hardware to elevate the look.
What’s the most cost-effective way to update a kitchen?
The most cost-effective kitchen updates focus on paint, hardware, and minor replacements. Start with repainting cabinets and walls, then swap out old hardware for new knobs and pulls. Add peel-and-stick backsplash and update lighting fixtures for an instant refresh. For a full list of budget-friendly kitchen upgrades, see our guide on Affordable Kitchen Updates.
Can I DIY a bathroom remodel on a tight budget?
Absolutely. Focus on peel-and-stick tiles, paint, and minor fixture updates like a new faucet or showerhead. Swap out old caulk and grout for a fresh look, and add storage solutions like floating shelves. For a step-by-step guide, see our article on Budget-Friendly Bathroom Upgrades You Can DIY in a Single Day.
What’s the best way to save money on materials?
Save money on materials by:
- Shopping sales and clearance sections.
- Buying in bulk for large projects (e.g., flooring, paint).
- Using coupons and rebates.
- Shopping secondhand at ReStores or online marketplaces.
- Repurposing or upcycling materials you already own.
For more tips, see our guide on Cheap Home Fixes.
Final Thoughts: Transform Your Home, One Project at a Time
Budget DIY home improvement is about taking control of your space and making it truly yours. Whether you’re refreshing a single room or tackling a whole-house overhaul, the key is to start small, plan carefully, and learn as you go. With the right approach, you can achieve great results without the stress of a costly renovation.
Remember: Every expert was once a beginner. Don’t be afraid to make mistakes—they’re part of the learning process. And if a project feels too big, break it into smaller steps or ask for help from a friend or professional.
Ready to get started? Pick one project from this guide and commit to tackling it this weekend. Your home—and your wallet—will thank you.