Taking on a basic electrical project can feel intimidating. This guide provides a clear path for homeowners looking to handle a common household task. You will learn the process for setting up a new fixture or replacing an old one.
Gaining this knowledge is empowering. It allows you to manage simple upgrades safely, saving money on professional services. Understanding the fundamentals builds confidence for future DIY projects around the house.
Various types of electrical controls serve different functions. A standard single-pole unit operates one fixture from a single location. More complex three-way and four-way configurations offer control from multiple spots.
Modern units feature different connection methods, like screw terminals and back-wire holes. Selecting the right technique ensures a secure and durable electrical link. Safety remains the most critical aspect of any work with electricity.
This article covers the common varieties found in homes. It offers straightforward, step-by-step directions suitable for newcomers. By the end, you will feel prepared to manage this project with assurance.
Key Takeaways
- This guide provides a comprehensive overview for beginners tackling a common electrical upgrade.
- Understanding the basics empowers you to complete projects safely and save on costs.
- Different control types, from simple to multi-location, are explained.
- Modern connection options are covered to ensure a reliable setup.
- Safety precautions, necessary tools, and correct techniques are emphasized throughout.
- Step-by-step instructions make the process accessible for first-timers.
- You will gain the knowledge to handle this task and troubleshoot basic issues.
Introduction to Light Switch Installation
Understanding the anatomy of electrical controls is essential before beginning any wiring project. These components serve as the command centers for your home’s lighting systems. They regulate power flow to fixtures and devices throughout your living spaces.
Different types of light switches serve specific functions. A single-pole switch controls one fixture from a single position. Three-way switches operate from two different locations, perfect for large rooms or staircases.
The electrical box provides the foundation for secure mounting. Modern units feature screw terminals and back-wire holes for flexible connections. Proper wiring ensures reliable circuit completion and interruption.
Multi-location configurations enhance convenience and safety. They allow control of the same light from multiple spots. This setup is particularly useful in hallways and large areas.
Most contemporary switches include grounding screws for safety. Older models might lack this feature. Always verify your specific unit’s capabilities before proceeding with any electrical work.
Safety First: Preparations and Tools
Electrical safety protocols should never be compromised when working with household circuits. The first critical step involves turning off the power at the main circuit breaker panel. Locate the correct breaker controlling your specific circuit before beginning any work.
Always verify that the power is completely off using a reliable voltage tester. This essential tester confirms zero voltage presence, preventing potential electrical hazards. Never assume the circuit is dead without proper testing.
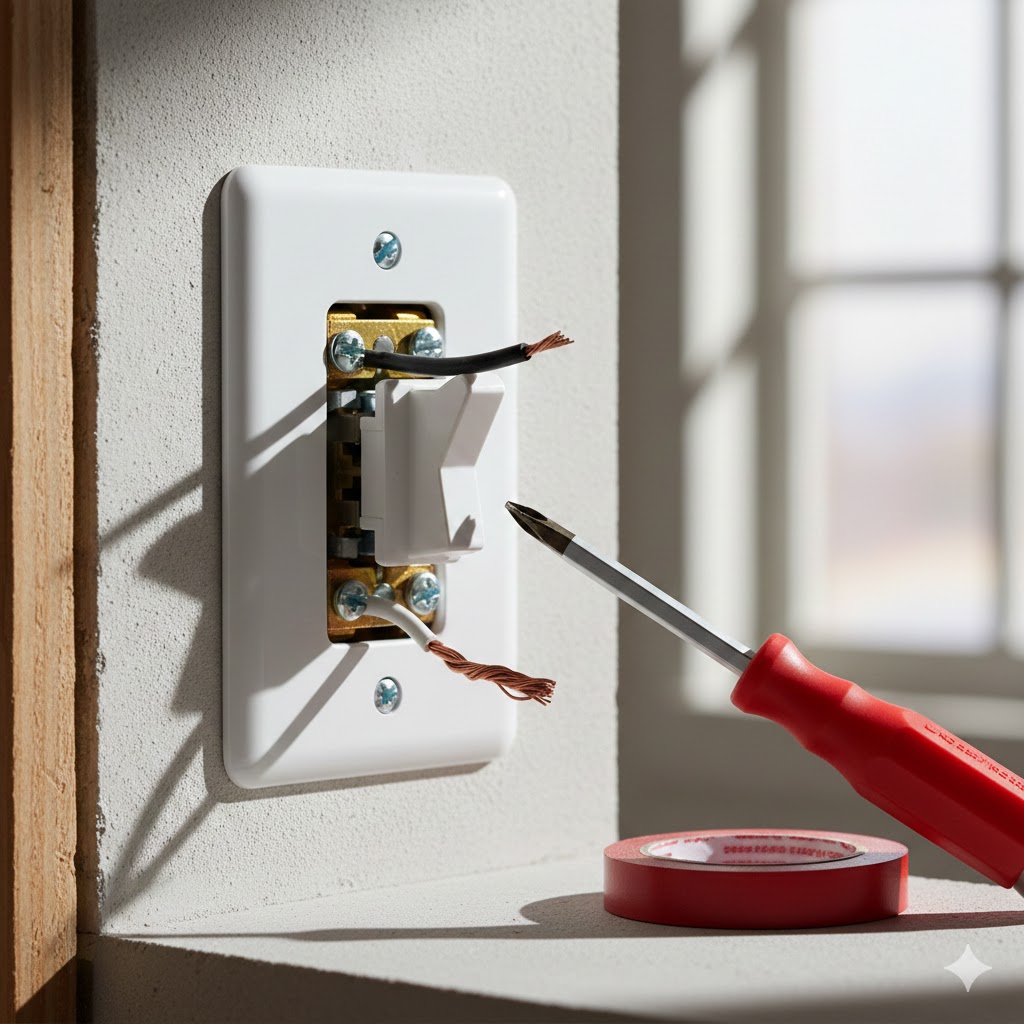
Gather all necessary tools before starting your project. Essential items include various screwdrivers for handling terminal screws, wire strippers, and needle-nose pliers. Have electrical tape and wire connectors readily available for secure connections.
Double-check safety measures throughout the entire process. Periodically test with your voltage tester to make sure the power remains off. This is especially important if taking breaks or when others are present who might accidentally flip the breaker.
Proper preparation ensures a safe working environment. Clear your space and ensure adequate lighting for clear visibility of wire colors. Handle all components carefully once you confirm the electrical box is completely de-energized.
How to Install Light Switch: Step-by-Step Instructions
Replacing a standard wall control is a straightforward process when following proper procedures. Begin by identifying your single-pole switch, which typically shows “On/Off” markings. This common type controls one light fixture from a single location.
Always start with safety verification. Turn off the circuit at your main panel. Use your voltage tester to confirm zero power in the electrical box. Remove the face plate and mounting screws to access the unit.
Carefully pull the old switch from the box, keeping wires attached. You’ll typically find two or three connections: a black hot wire, a colored return wire, and possibly a grounding wire. Compare terminal positions between old and new switch models.
Work with one wire at a time to prevent confusion. Match each connection to the same-colored screw on your replacement unit. Proper wiring technique involves stripping insulation and forming clockwise loops around terminal screws.
This orientation ensures tight wrapping when tightening. Complete all connections before gently pushing the unit back into the electrical box. Secure the new switch with mounting screws, attach the face plate, and restore power to test operation.
Understanding Wire Connections and Electrical Box Setups
The electrical box serves as the central hub where all wire connections come together. This metal or plastic enclosure houses your device and contains any potential electrical issues. Proper setup ensures safe operation for years.
Modern units feature two connection methods: screw terminals and back-wire holes. Screw terminals provide the most reliable long-term performance. Back-wire holes offer convenience but may loosen over time.
Wire color coding follows standard electrical conventions. The black wire carries current to your fixture and connects to brass terminals. A white wire with black tape indicates it functions as a hot conductor.
The bare copper or green wire provides crucial safety grounding. This conductor attaches to green screw terminals or the box itself. It creates a safe path for electrical faults.
To remove wires from back-wire holes, insert a small screwdriver into the release slot. Push inward while gently pulling the wire. This action disengages the internal grip mechanism.
Always form clockwise hooks when connecting wires to screw terminals. This orientation ensures the connection tightens as you turn the screw. Secure connections prevent overheating and potential hazards.
The box must properly contain all wires and connections. Overfilled boxes can lead to dangerous heat buildup. Ensure your setup meets local electrical codes for safety.
Tips, Tricks, and Troubleshooting During Installation
Smart preparation separates successful DIY electrical work from problematic projects. Compare your new switch with the old switch before disconnecting any wires. Different manufacturers position terminal screws differently.
Work with one wire at a time when transferring connections. This prevents confusion and ensures proper placement. Avoid push-in connections despite their convenience.
Screw terminals provide more reliable long-term performance. Loose connections can cause dangerous arcing or failure.
Dimmer switches often have larger bodies than standard units. Carefully organize wires inside the box rather than forcing the unit. Cramming can damage insulation.
Three-way switch configurations require special attention. If both switches malfunction after installation, check wire connections. The common wire might be mixed with traveler wires.
A circuit breaker that trips immediately indicates a short circuit. Crossed wires or ground contact usually causes this issue. Turn power back off and recheck all connections.
Remember that three-way light switches lack “ON/OFF” labels. The light can be on with the switch in either position. This depends on the other switch’s setting.
Modern smart switches offer enhanced control without complex installation. Consider these options during renovations for added convenience.
Always test voltage multiple times during your project. Ensure power remains off, especially if taking breaks. Safety should remain your top priority throughout the process.
Conclusion
The knowledge gained from managing basic household wiring extends far beyond a single task. You now possess the skills to handle various electrical controls throughout your home.
Understanding different switch types and their functions is crucial. Single-pole units control light from one spot. Three-way switches offer convenience at multiple locations.
Safety practices protect you during any electrical work. Always turn off power at the circuit breaker. Test with a voltage tester before touching wires.
Proper wire connections ensure reliable performance. Form clockwise loops around terminal screws for secure contact. The electrical box houses all components safely.
Whether working with wall units or ceiling fixtures, these principles apply. Neat wire organization makes fitting the cover plate easier.
This foundation prepares you for future projects. You can troubleshoot issues and make upgrades confidently. Your new skills empower home maintenance independence.
FAQ
What is the most critical safety step before starting work on an electrical box?
The most vital safety measure is to turn off the power at the circuit breaker. Always use a voltage tester to confirm the wires in the box are dead before touching any connections.
How can I tell if my existing setup is a single-pole or three-way configuration?
A single-pole switch controls a light from one location and typically has two terminals. A three-way switch, used for controlling lights from two different locations, will have three terminals.
What should I do with the white neutral wire when connecting the new switch?
In a standard switch replacement, the white wires are usually connected together with a wire nut and tucked into the back of the electrical box. They do not connect directly to the switch itself.
Why is my light fixture not working after I’ve completed the installation?
First, double-check that the circuit breaker is on. Then, ensure all wire connections are secure on the switch terminals and that the wires are making good contact. A loose connection is a common issue.
Can I install a dimmer switch using the same process?
Yes, the process is very similar. However, dimmer switches often require a neutral wire connection, which a standard switch does not. Always follow the specific manufacturer’s instructions for your dimmer model.